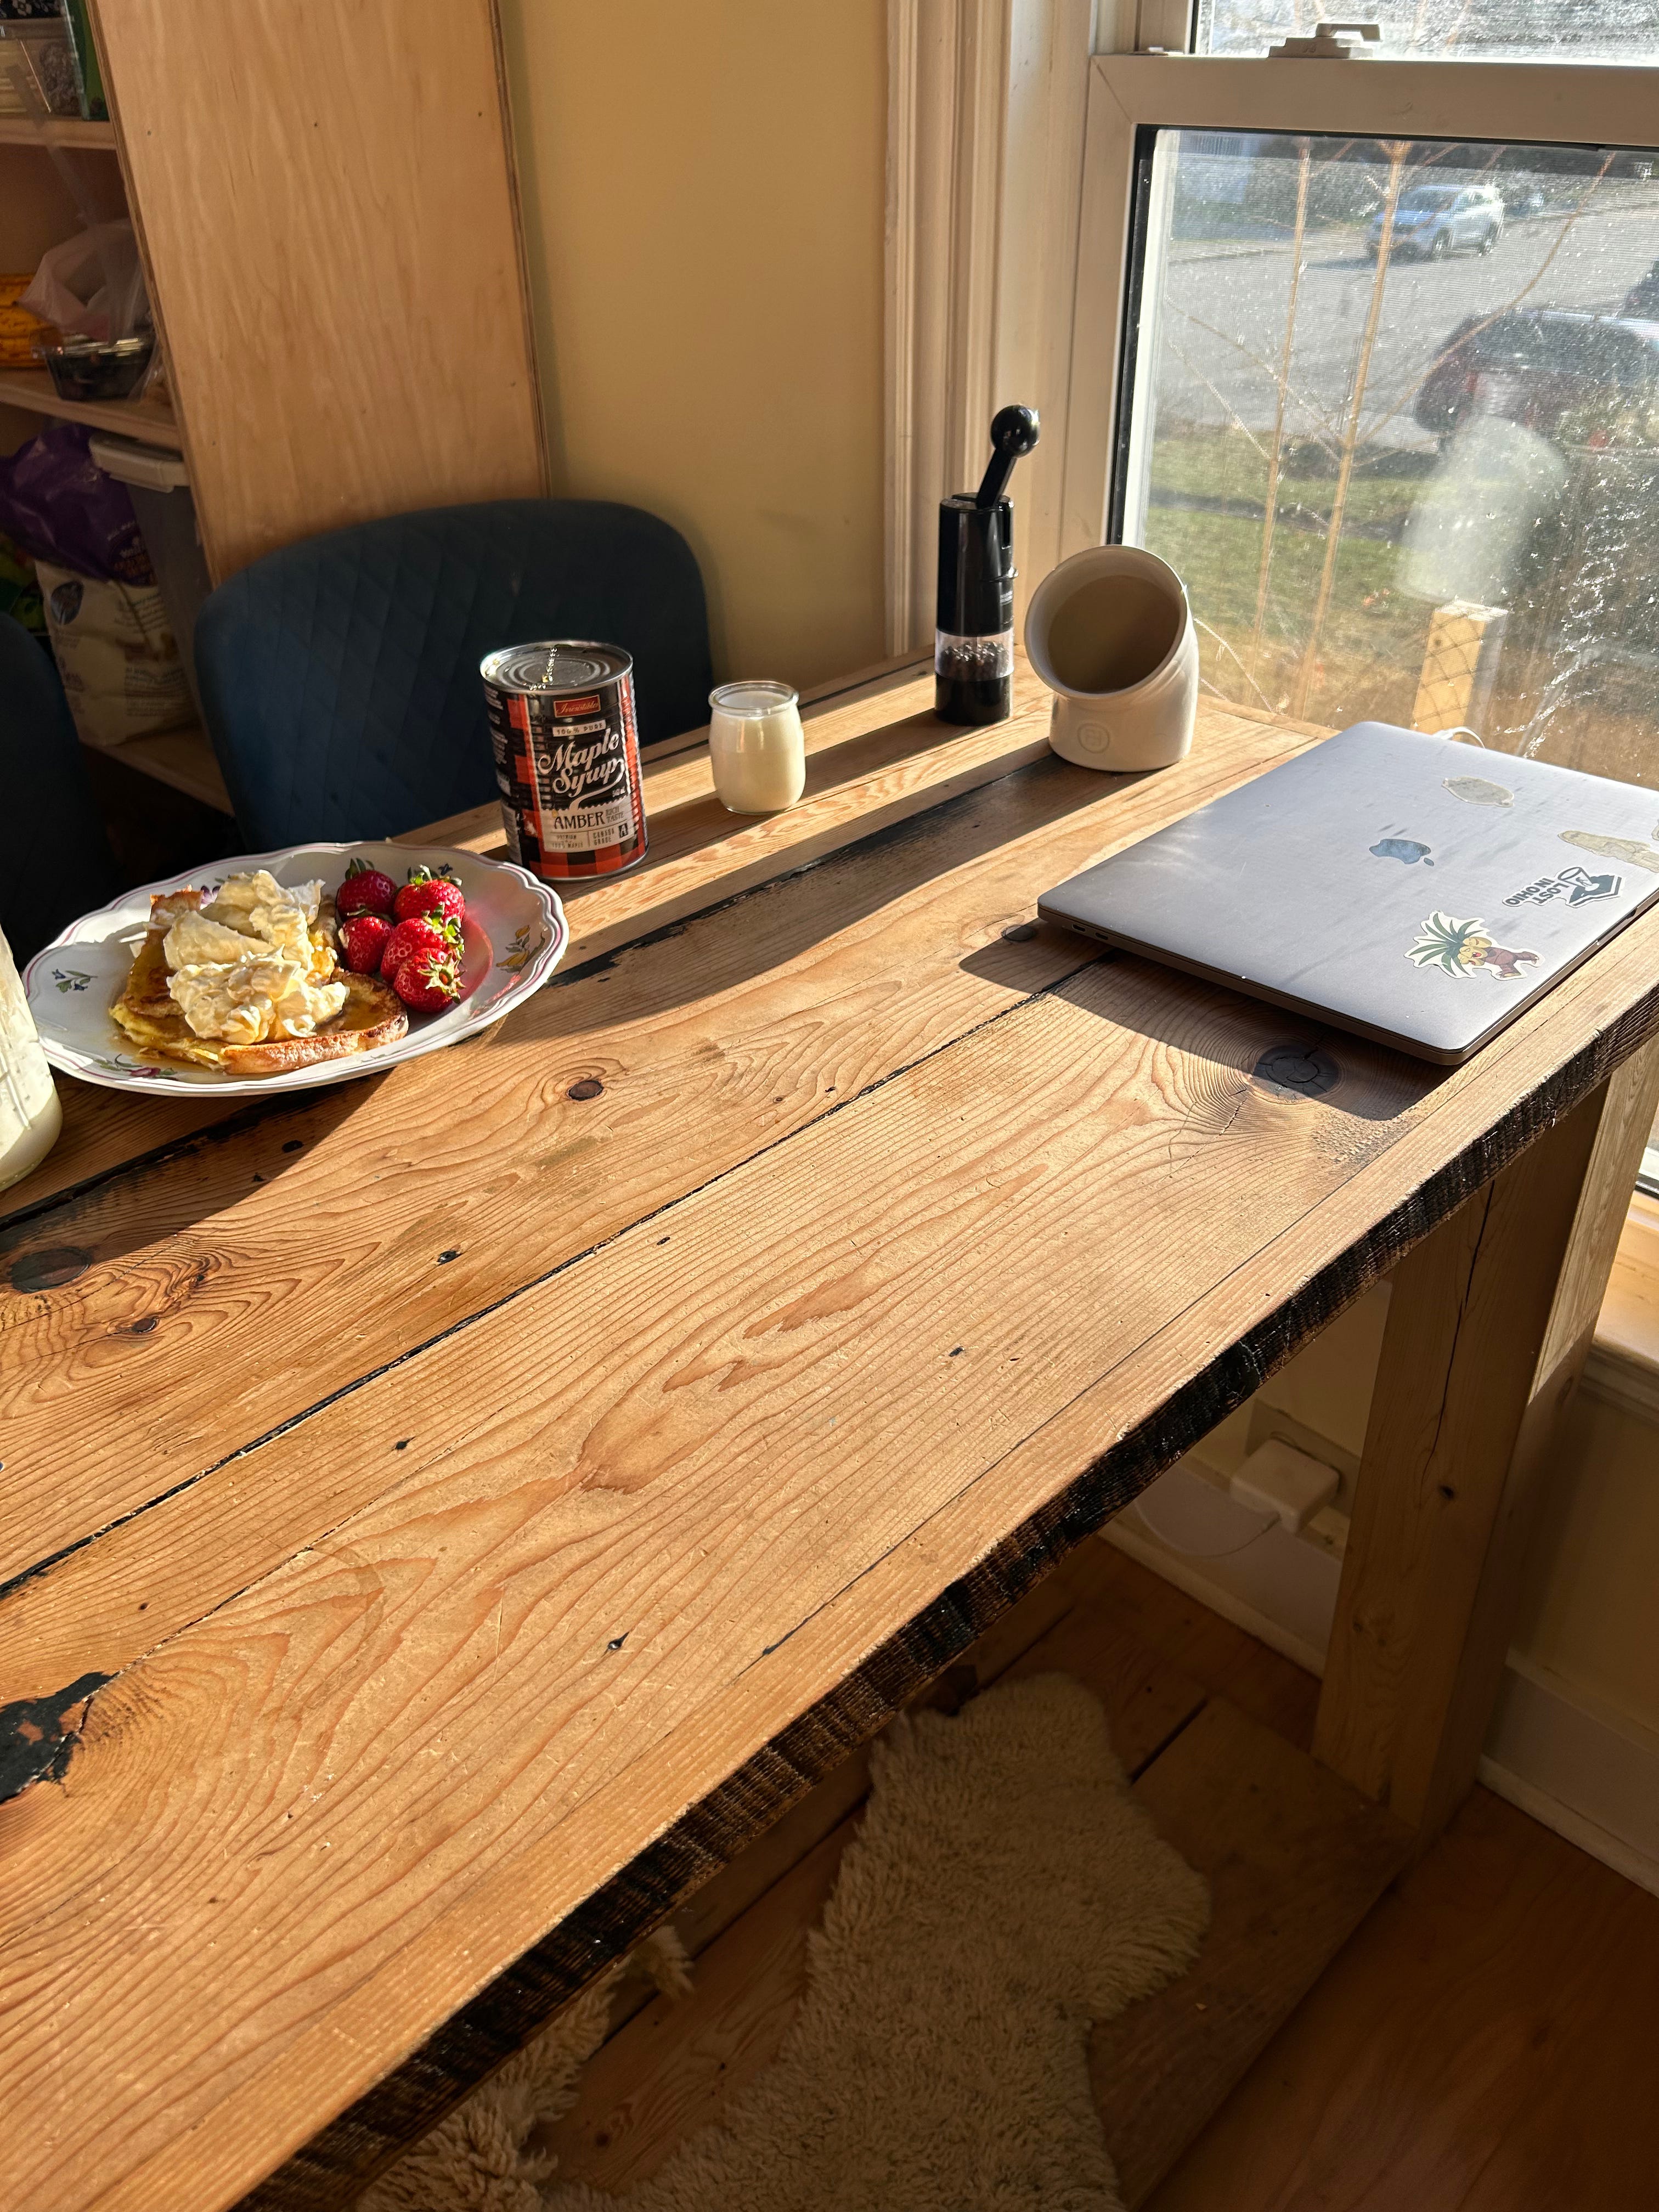
I came downstairs this morning and encountered this:
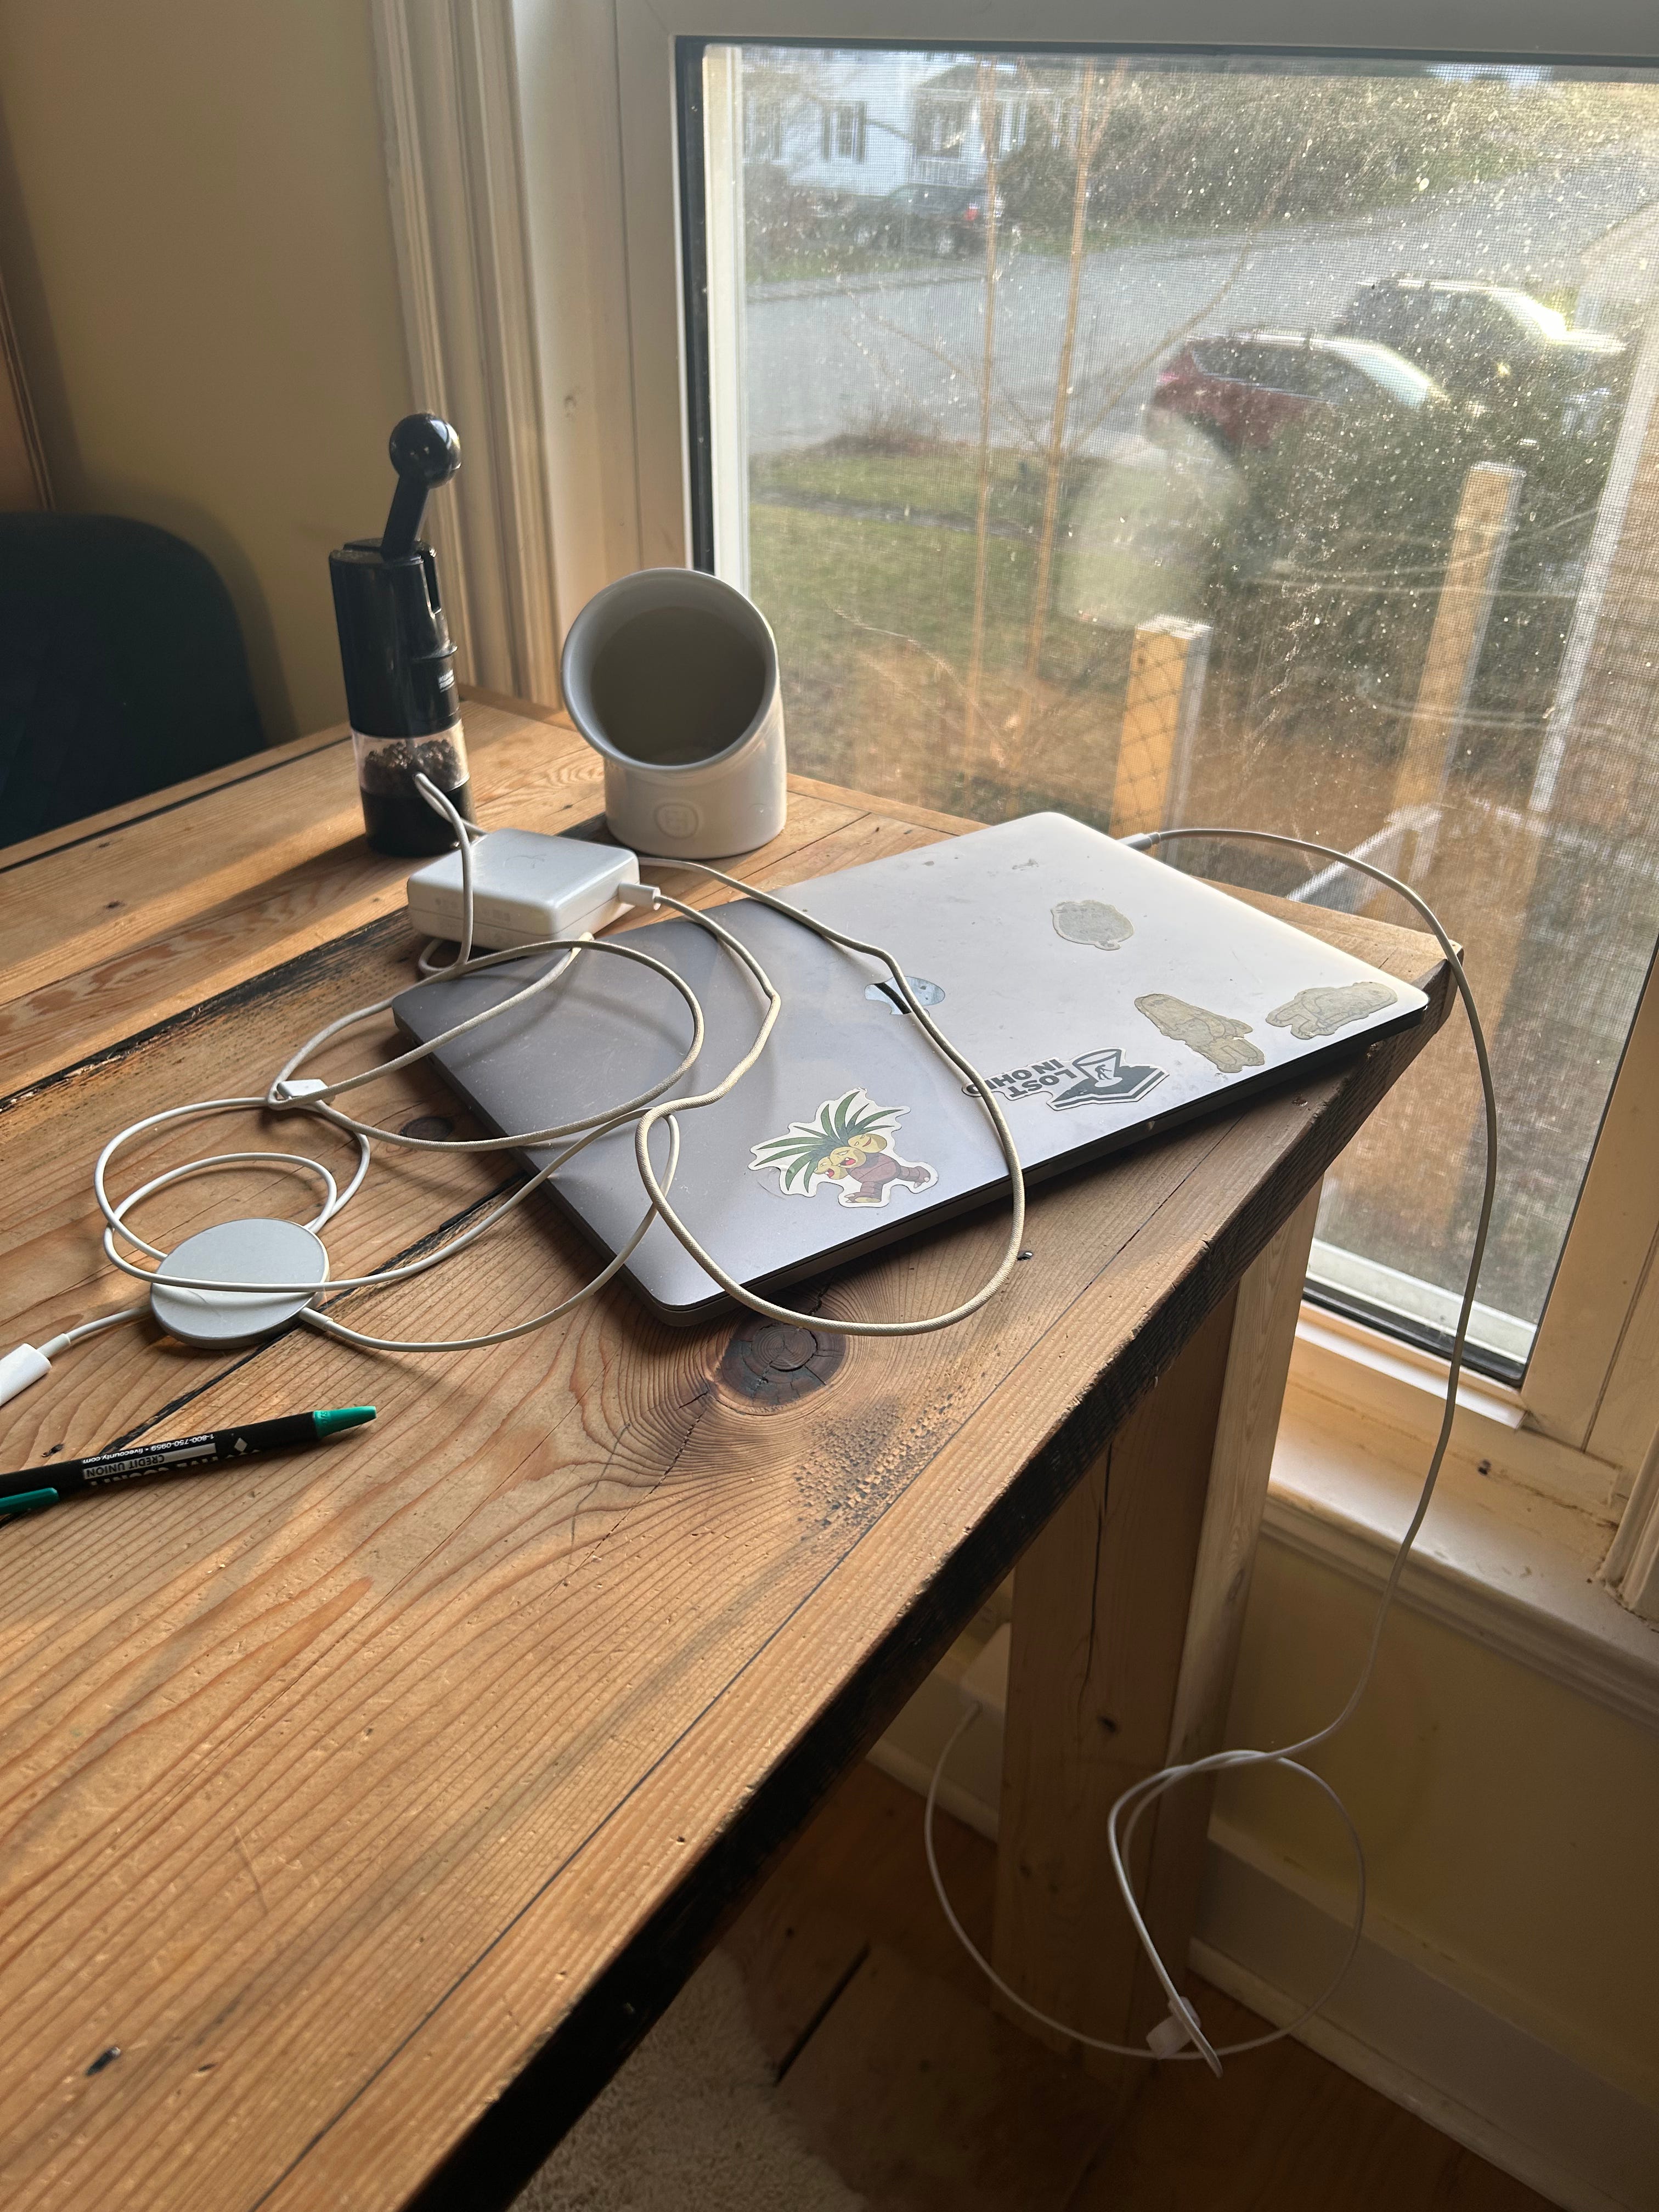
It’s been the state of things for several mornings, as the kitchen table has become a working spot and landing place for a laptop. The laptop itself doesn’t bother me; its the spaghetti-tangle of cords and plastic charger blocks on the table, snaking down to the floor where the wires become vulnerable to being damaged by chair legs.
Looking for Options
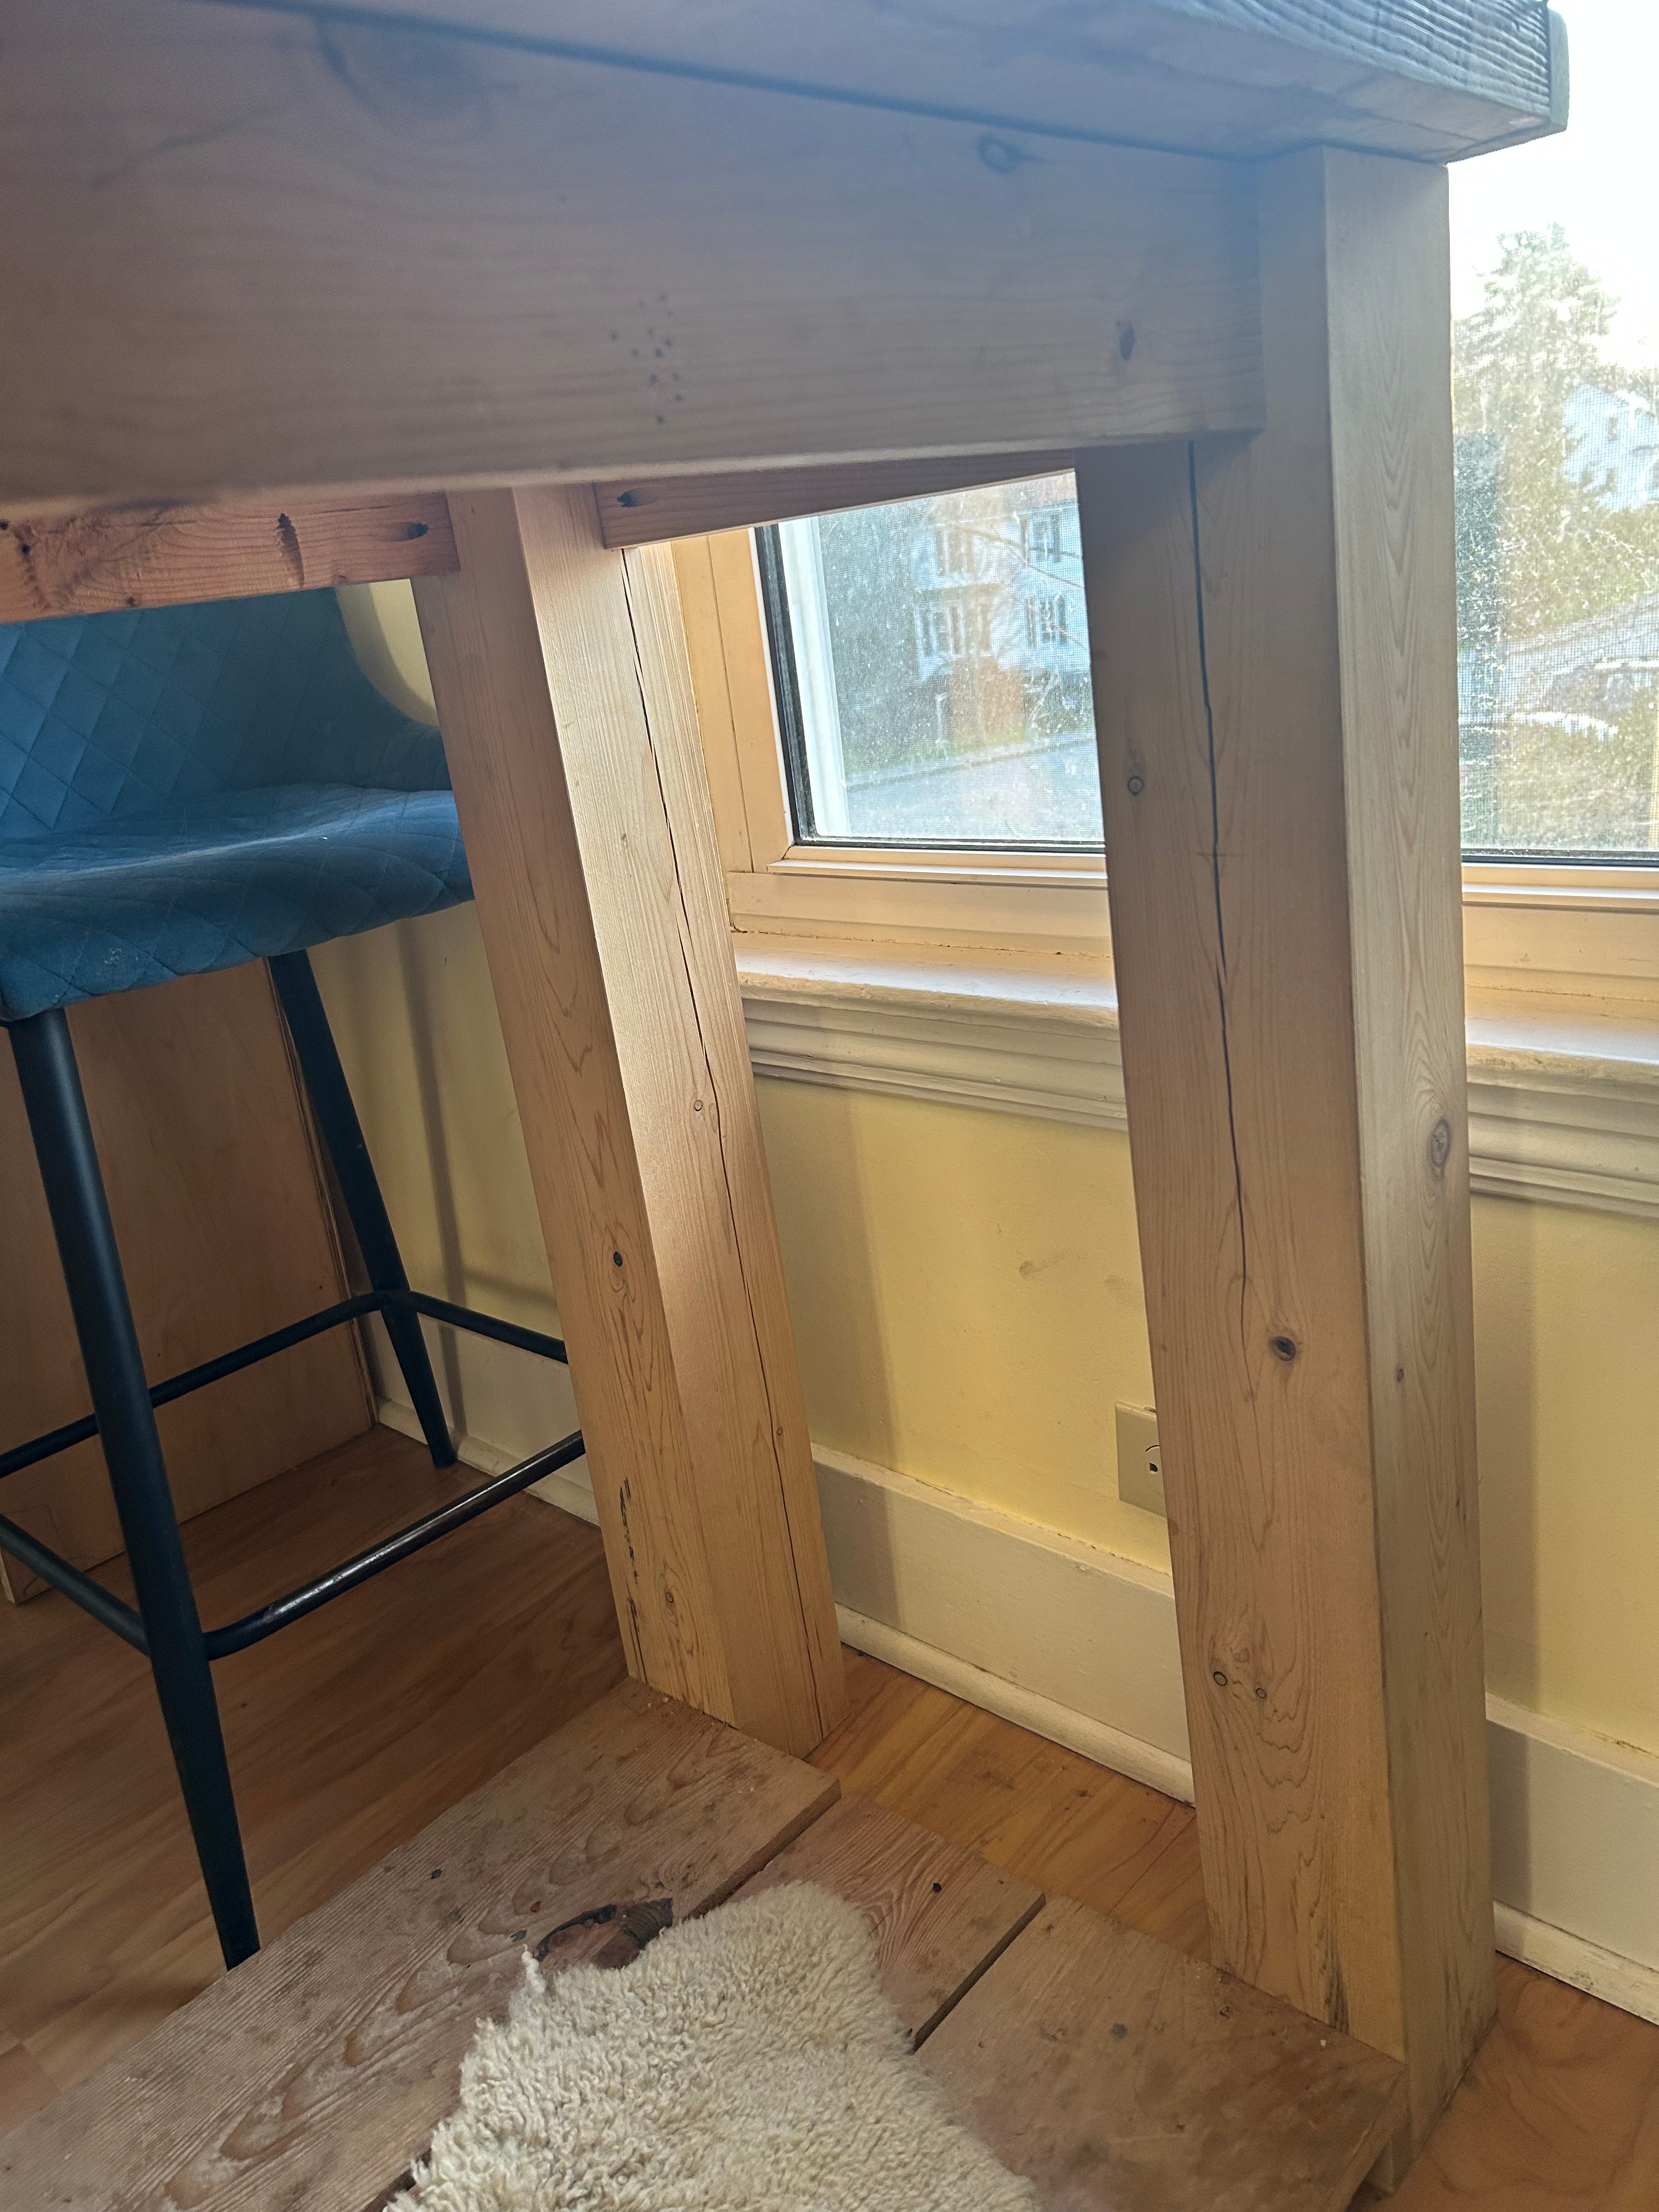
So I pulled the table away from the wall and looked around for options. The windowsill? Too shallow, and things would be in the way every time we opened the window. A basket? No good place to put it. Then I noticed the space between the thick table legs. Room for a shelf? Yes!
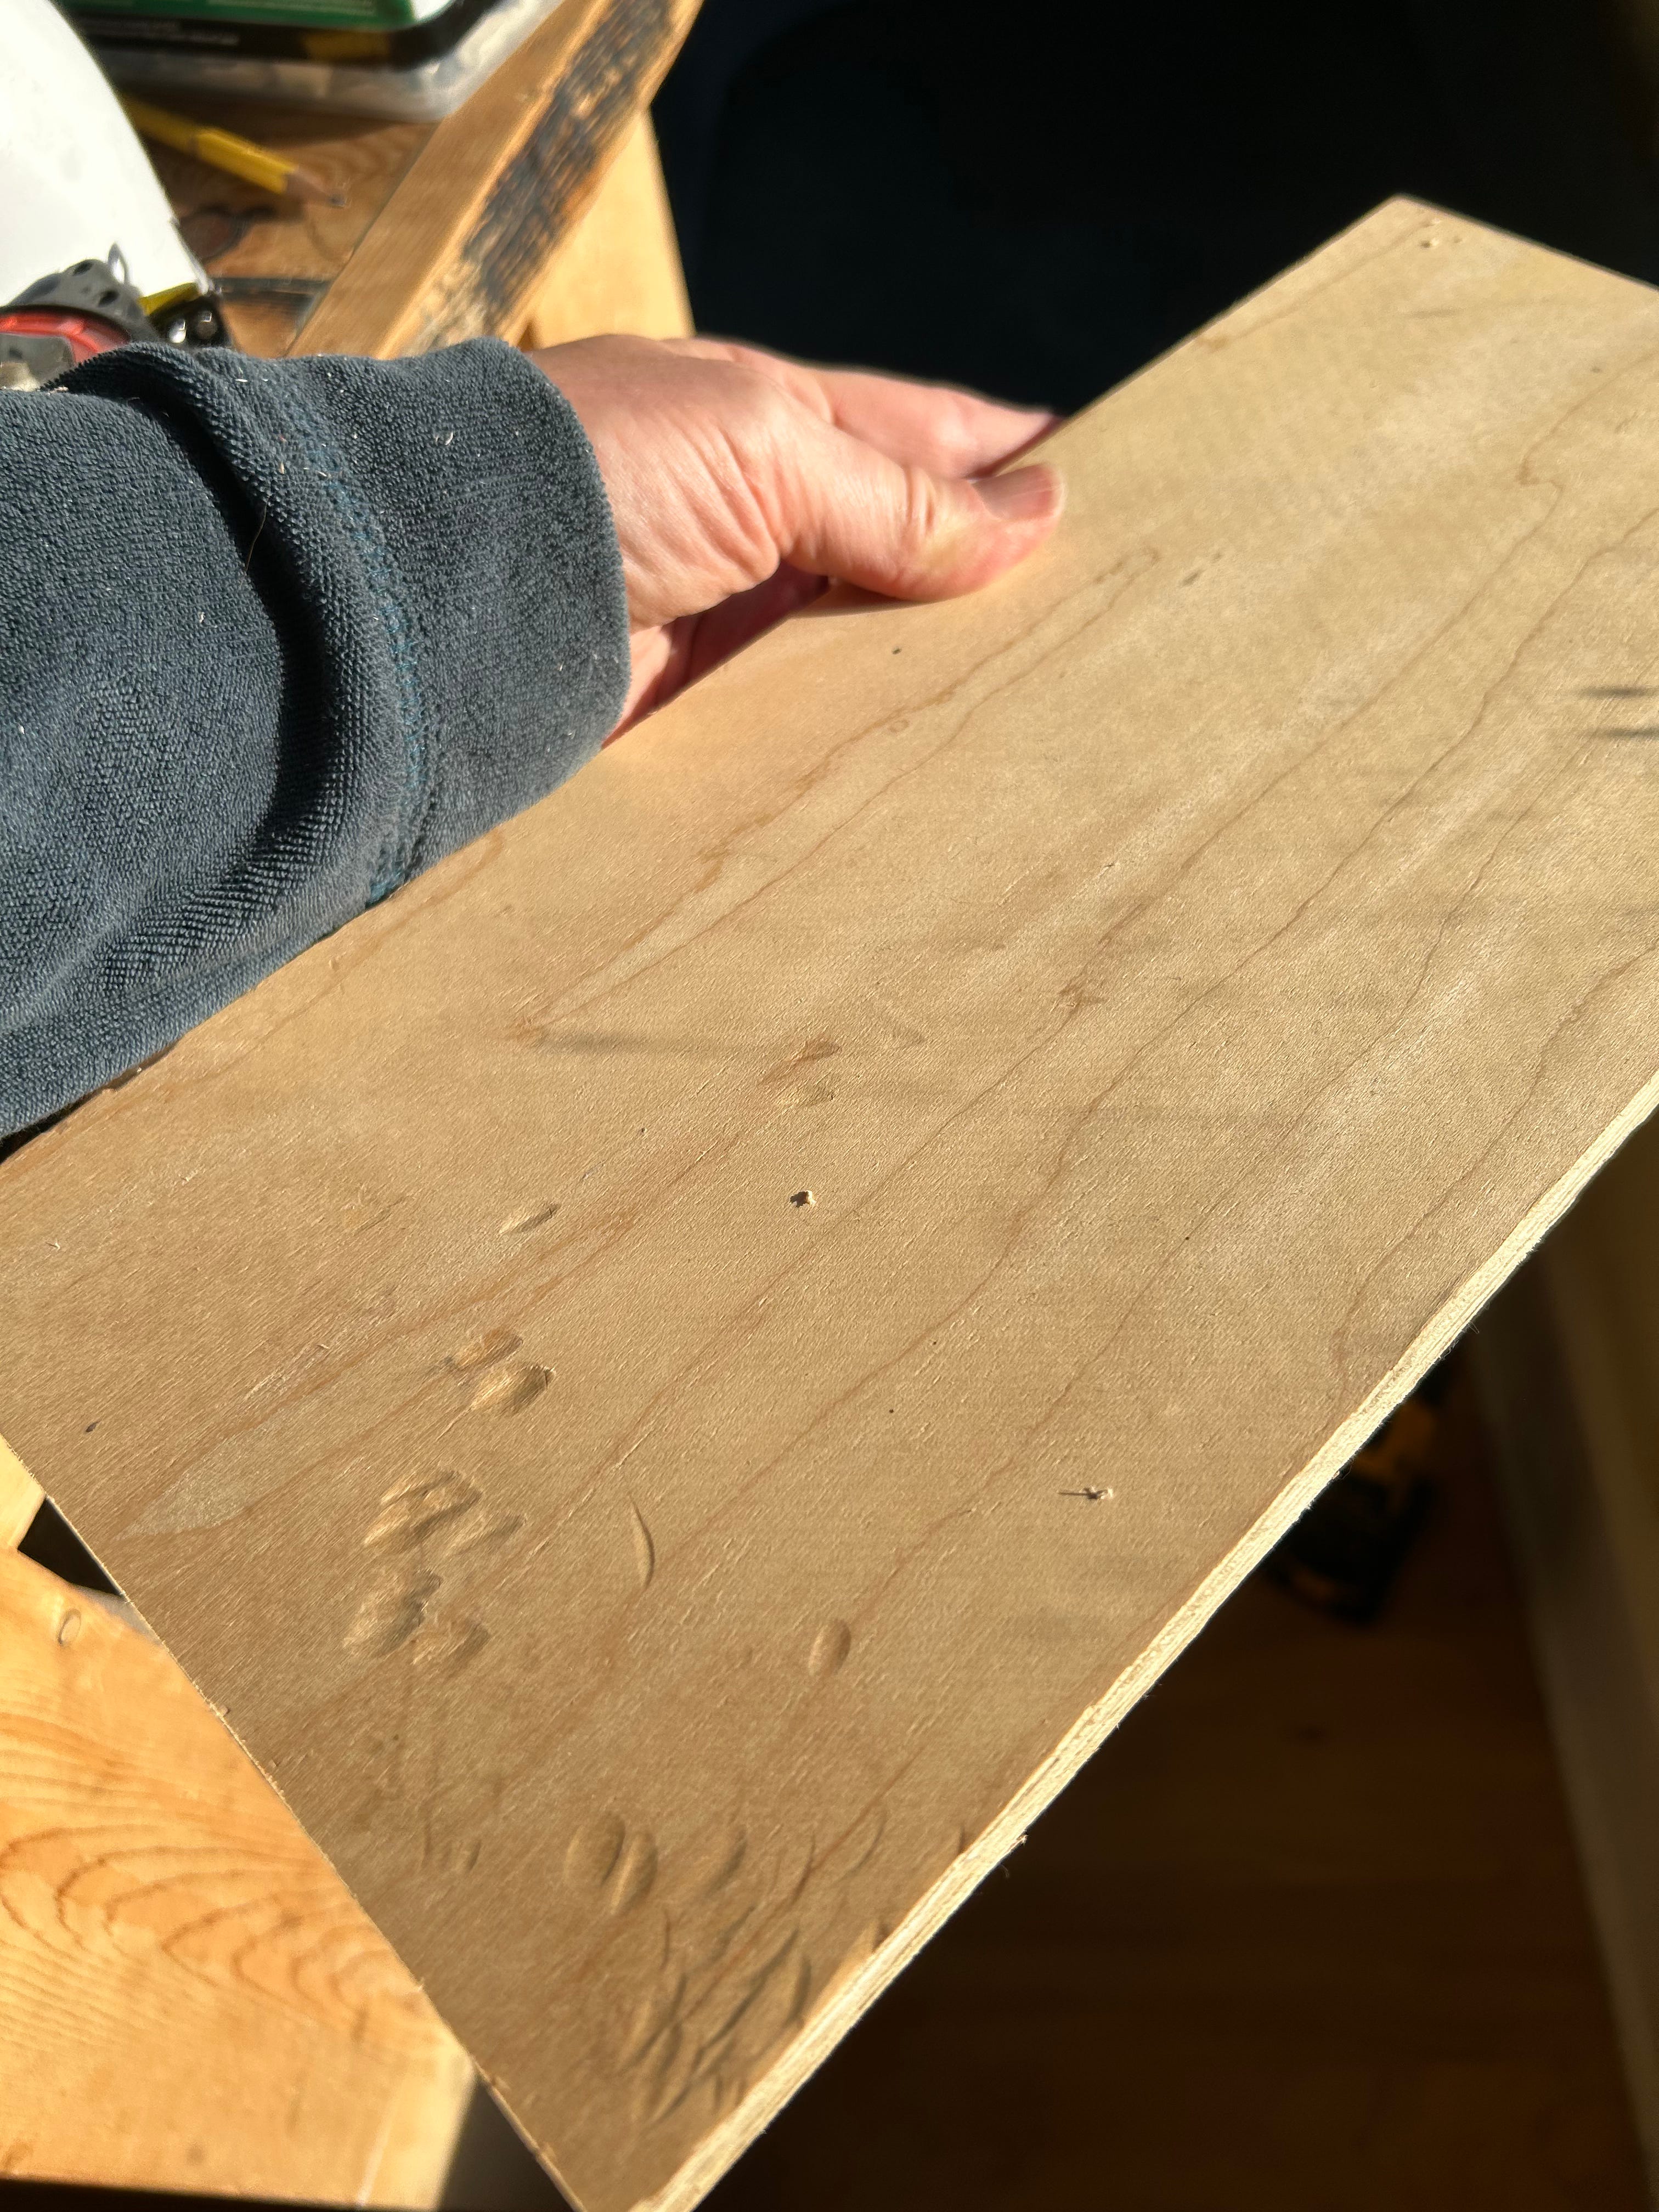
I looked downstairs and found an appropriate 1-inch thick board. The size did not have to match the width of the legs - it could overlap, and more width would probably come in handy. I held the board to the legs, trying to very carefully match it up for a perfect fit, and marked it for cutting.
Cutting the Board
I brought the board back down to the basement, where the miter saw has been living all winter (soon we will bring it to the outdoor shed and use it outside, so we don’t continue to fill the basement up with sawdust). Before turning on the saw, I tap the blade down on the wood to make sure it perfectly lines up with the cut line, and taking into account that the blade should cut immediately outside the line, because the blade itself will take off about an eighth of an inch of wood. When I feel it is lined up properly, I hover it an inch or so above the board, turn it on, and tap the board lightly, to make sure that the line it makes is exactly where I want it to cut. If that looks good, I cut the board.


I then took several small blocks of scrap cut-ends of boards, to see which would work best for the shelf supports.
Attaching the Shelf Supports
I picked out two rectangles of similar size (I could have trimmed one down, but I was trying to get the shelf done in time to make breakfast) and took a couple of self-driving star, or Torx, screws - or “hexalobular internal”, if you’d like to know the official generic name - and first attached them to the rectangles of wood, so I could drive them in downward, working with gravity (which helps when you are not pre-drilling)
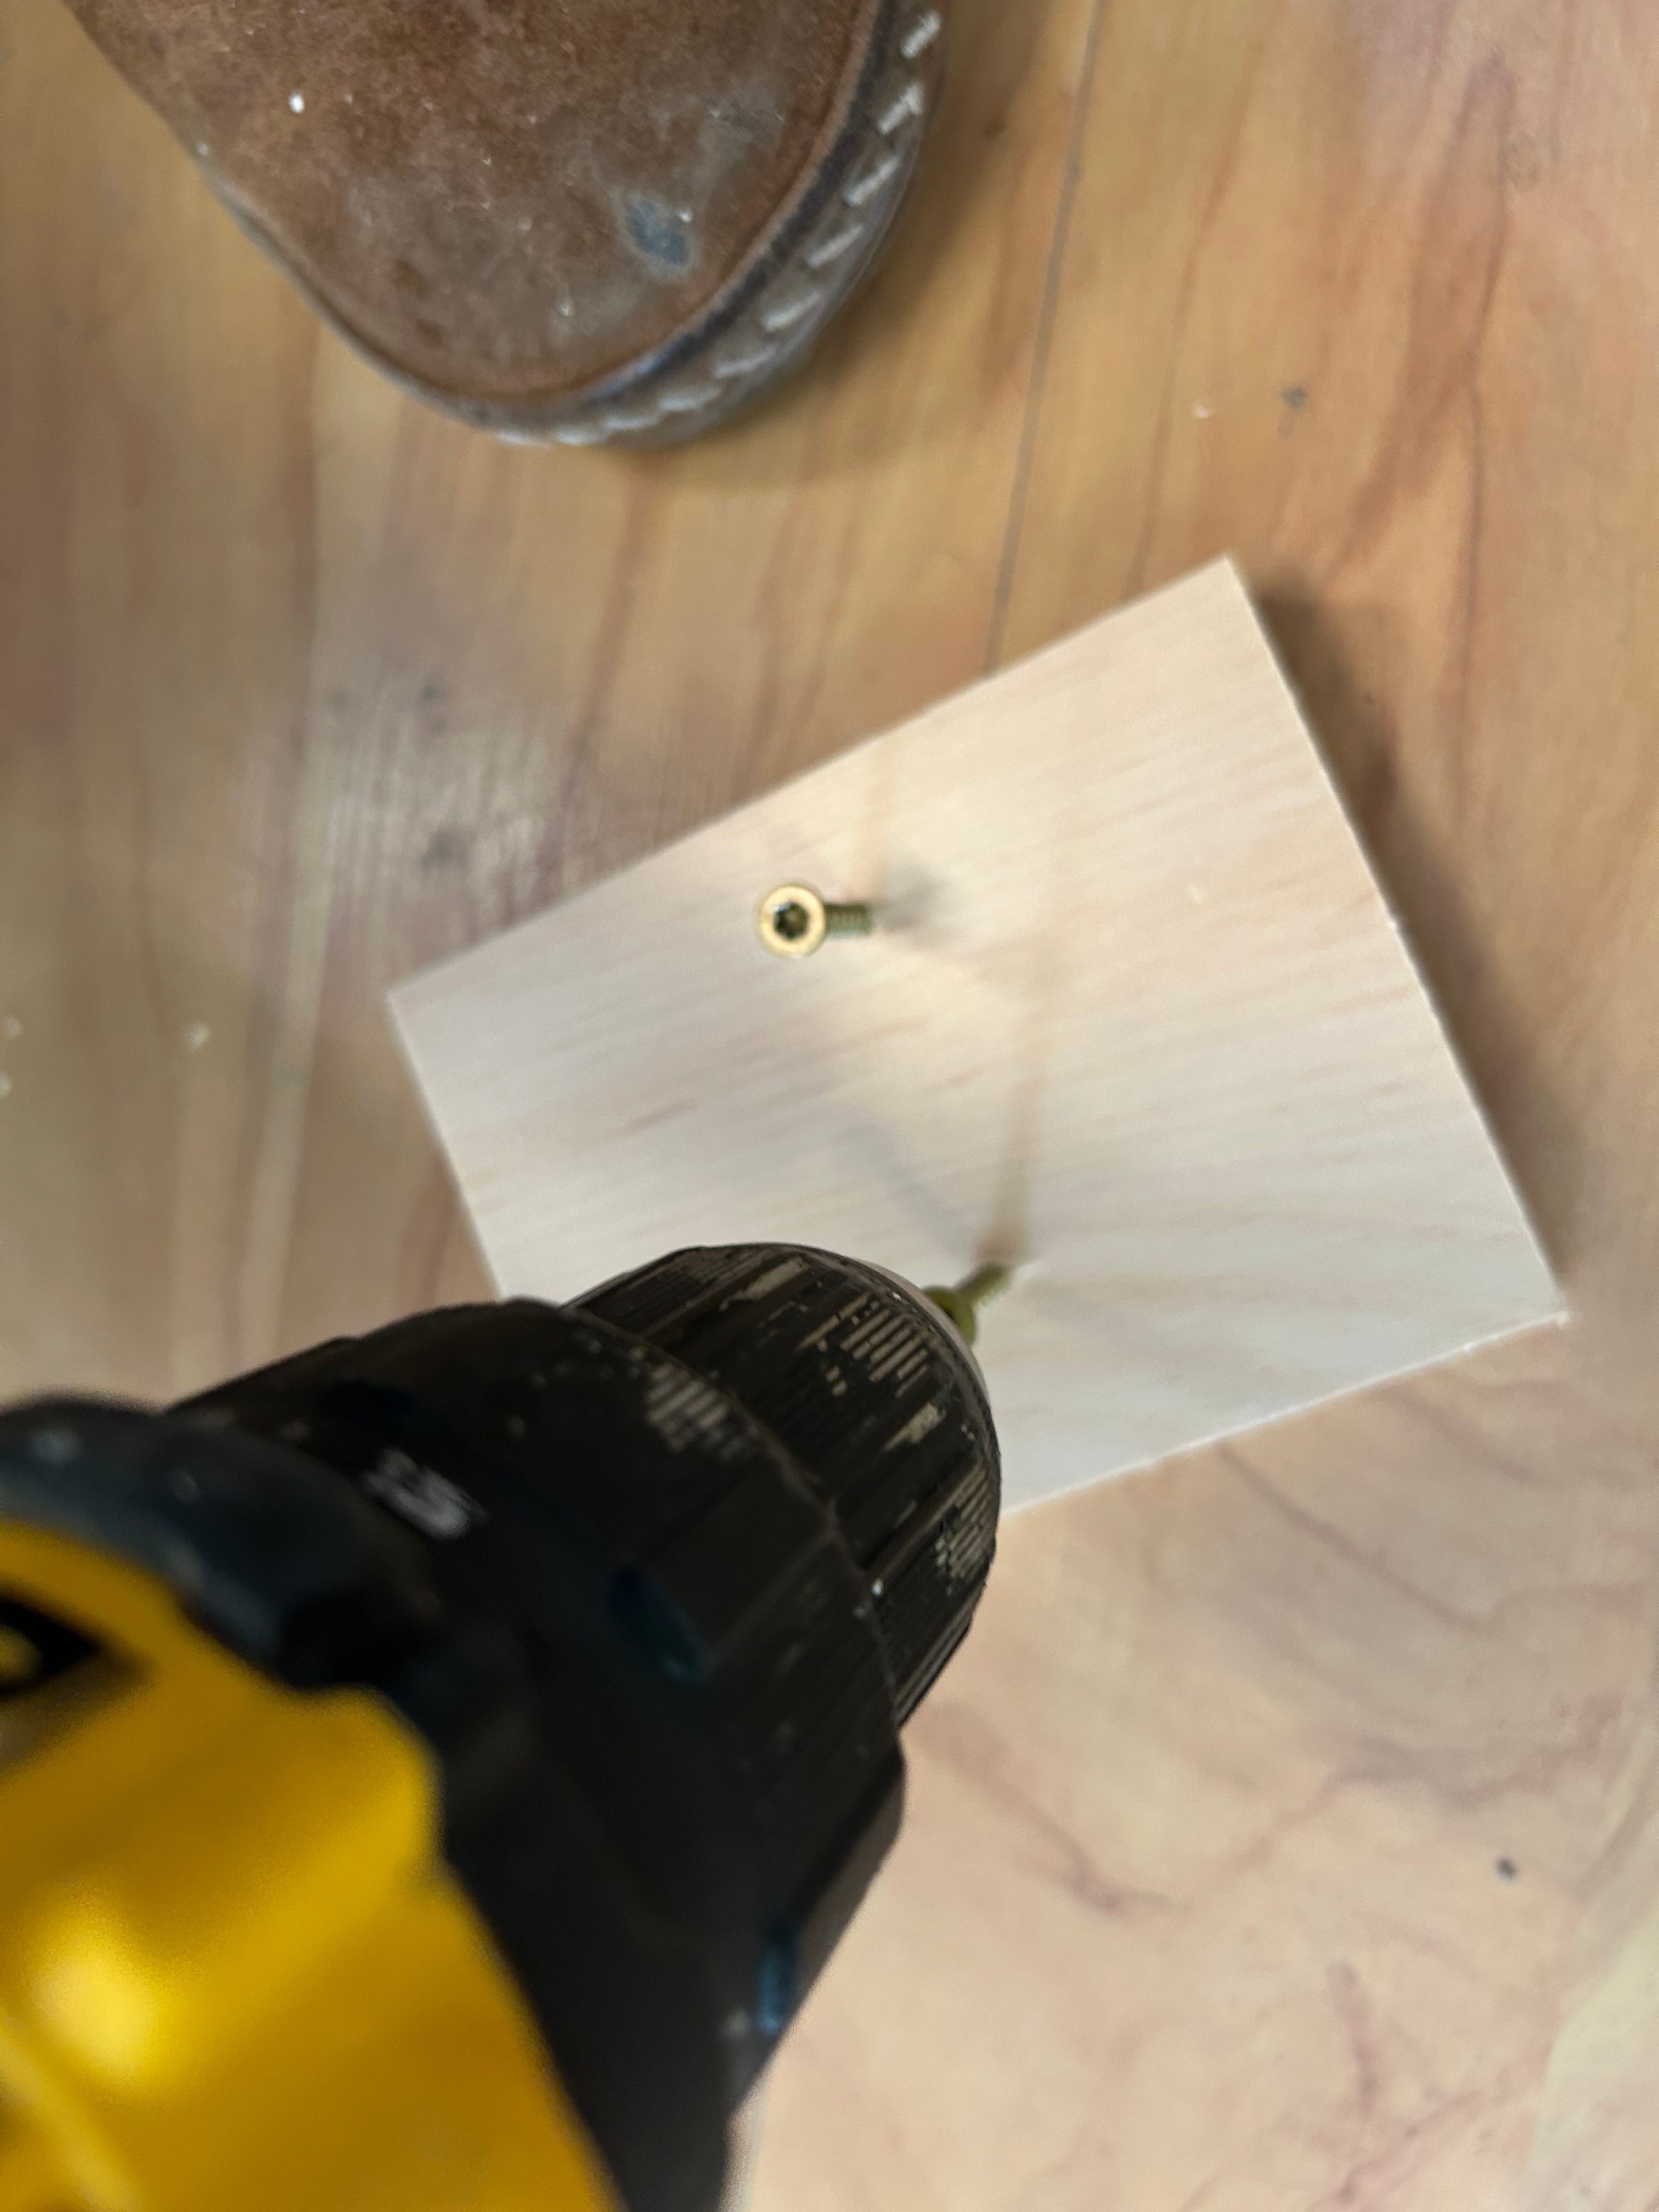
Next, I measured and marked the height at which to attach the supports, held them carefully up to the line, and drilled. I had to readjust the wood block several times, as it wanted to twist with the direction of the screw. When I finally got both screws in, the block had snuck away from the surface (this happens to me often, as a result of me not holding down what I am drilling with adequate force). This is remedied by backing up the screws to the point that the wood can once again be held flat to the surface, making sure the screws are lined up to the holes that were just drilled, and screwing it in again (this time, taking extra care to press the block of wood onto the surface.) Generally, the second go is much easier than the first.


Putting the Shelf onto the Supports
Now for the fun part: trying to hammer in a piece of wood that is just slightly too big, realizing that I have to go shave just a smidgen off with the miter saw (delicate business), coming back upstairs and realizing that I have taken a smidgen off the wrong piece of wood, looking at the clock and deciding that I have to make the french toast or my older son will miss the school bus.

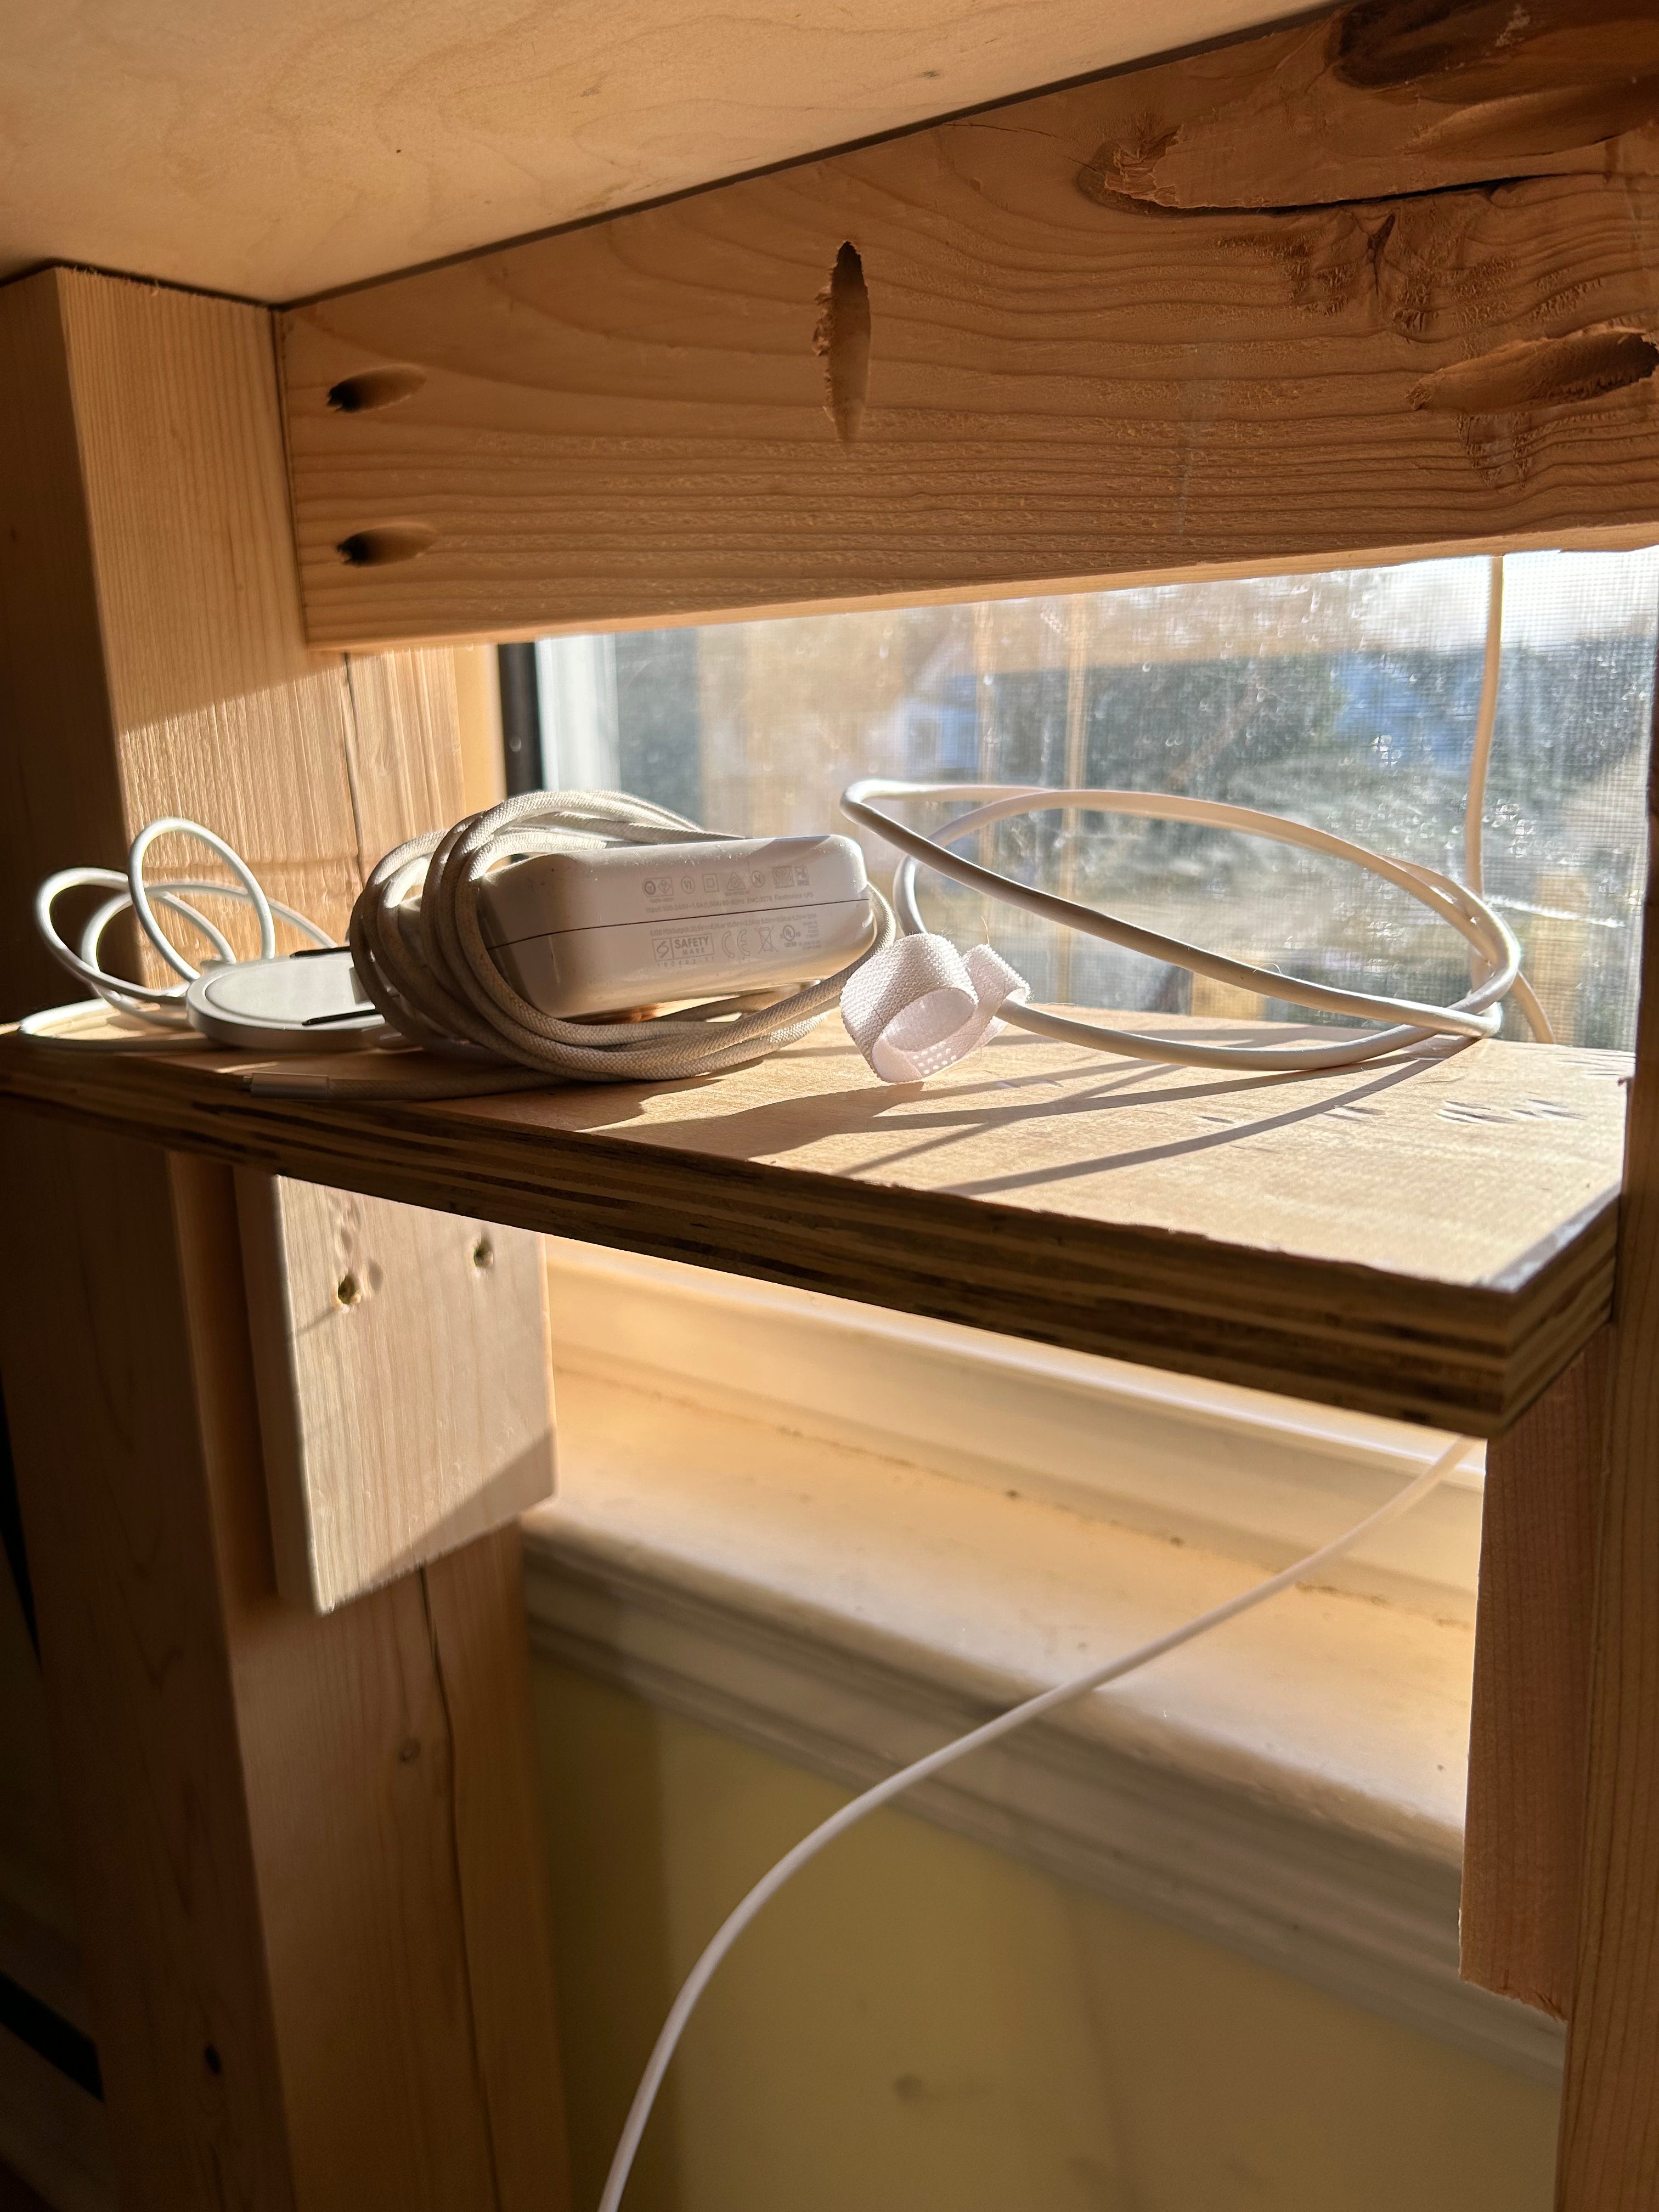
That accomplished, I went back downstairs, cut the right piece of wood, and was relieved to discover that it now fit. A single screw, toenailed (screwed in at an angle) to one of the supports would be, I decided, sufficient to hold it fast.


Noticing the sharp corner at potential knee height, I took some rough sand paper and rounded it out on both sides of the interior of the shelf.


Order Restored!
Now these cords and chargers have a home.
And the kitchen table becomes a spot where you might actually want to eat breakfast.