When you are the type of person who tends to come up with creative solutions for problems, sometimes you don’t immediately see the obvious ones. This closet, for example:
I think it was probably intended to become an ensuite bathroom, but was never converted. Its in a bedroom that we use for computer/exercise/guest space. It houses a kid’s dresser, some suitcases and a bunch of B-list stuffies that I am not yet allowed to send to the Goodwill.
The bedroom itself has become something of a chuck-it-in:
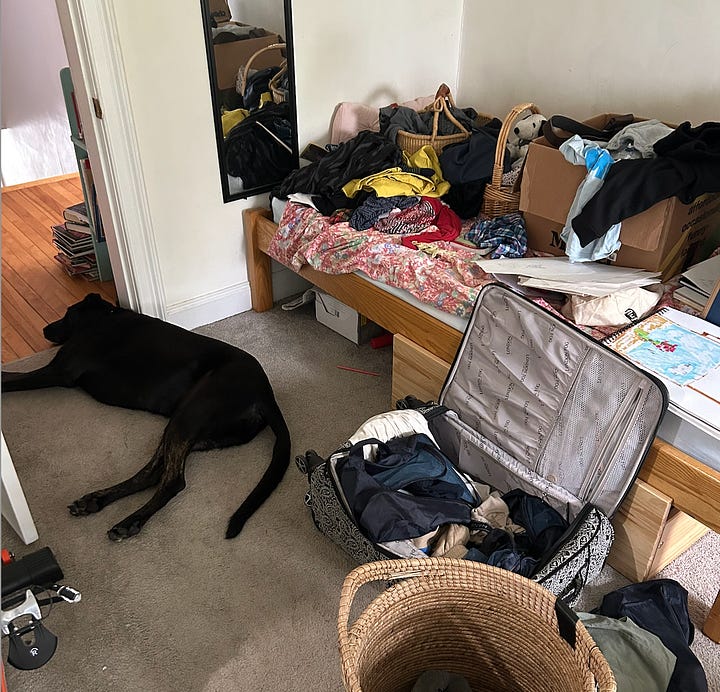
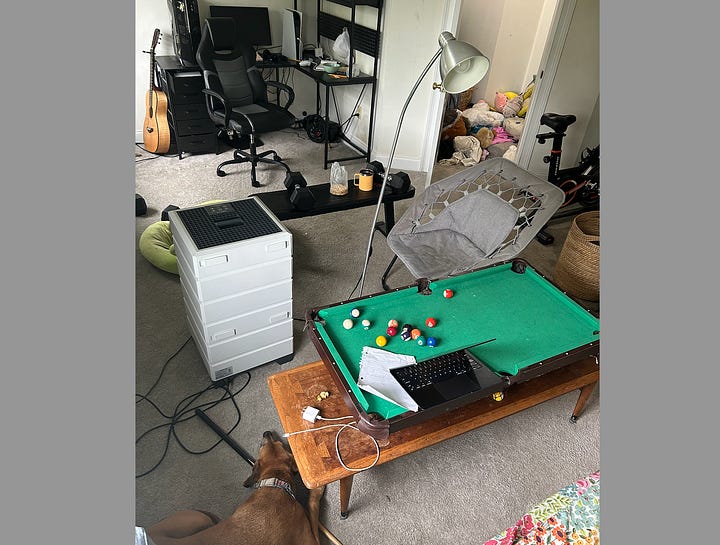
Which is funny, because we already have another bedroom that is serving as a chuck-it-in (just until the yard sale - I promise!)
This is - you might have gleaned from prior articles - an obvious case of there not being handy and convenient HOMES for the various items that get chucked into the room. So we have a large and poorly utilized closet next to a room that is essentially being used like a closet. Hmm…
It takes me a while sometimes, but eventually it did dawn on me that I needed to turn the closet into a closet.
So I made some shelves, beginning by marking the height of the tallest suitcase, to make sure that the suitcases could fit underneath:
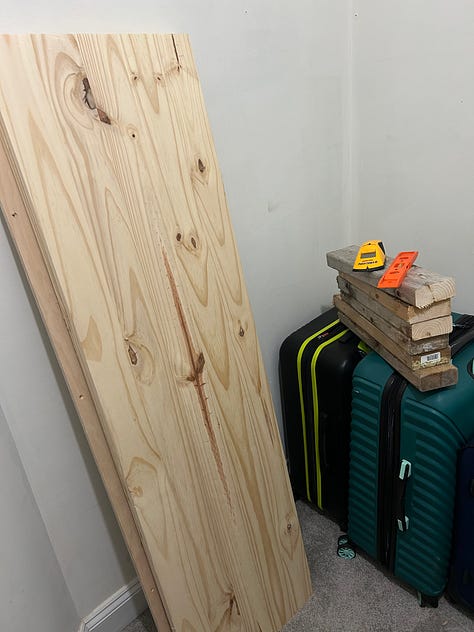
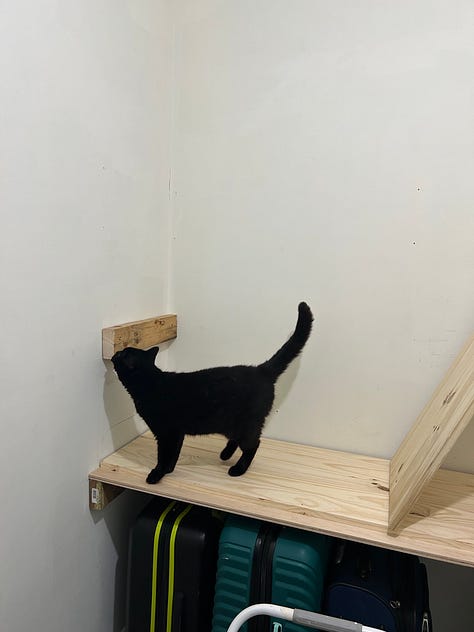
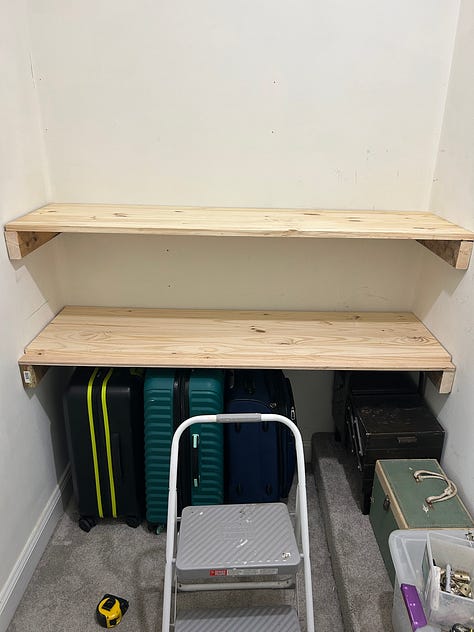
My shelves consist of boards supported by 2x4’s on each end. The method is fairly straightforward:
eye the wall and consider how many shelves are needed for what you intend to store
figure out at what height to place the shelves, then make a mark on the wall, on one side, at that height
hold up a small level horizontally at that mark, when it registers level, draw a line along the top
drag a stud finder along the shelf line to locate studs
make an x at middle of each stud, on top of shelf line
cut two 2x4’s to the same depth as the shelf board
hold up the cut 2x4 under, and in line with, the shelf line
screw 3” screws into the 2x4 and through to the wall, at each stud location (at least 2 points are necessary, or shelf support will pivot)
with pencil and level in hand (or pocket) rest one end of shelf board on the attached 2x4
place level on shelf
when board is level, mark the wall at the other end with a line under the shelf - this makes your shelf level left-to-right
remove board and use level to level out line that you have just drawn on the wall, this makes your shelf level front-to-back
repeat process that you used for putting up the first shelf support
put shelf board on top of supports - you can leave the shelf loose or screw the top into the supports (if you are concerned about child/animal/etc. climbing on or bumping into the shelves)
if shelf boards are sufficiently stiff relative to their span, the shelf will not sag in the middle - though it still might sag if you are using it for heavy things
if it does sag, a thicker board and/or support along the back may be necessary
Keep in mind that when you are using a long screw to drill into a wall, you need to be very careful not to drill into wires or pipes. Here is a basic video about how to use a stud-finder for this purpose. And below is a 4-minute video if you would like to see in more detail how I installed the shelf supports.
The stuffies found a new home in what had previously been an old, overcrowded linen closet:
And the linen found a new home in this closet:
The bureau went into the bedroom:
The closet went from this to this:
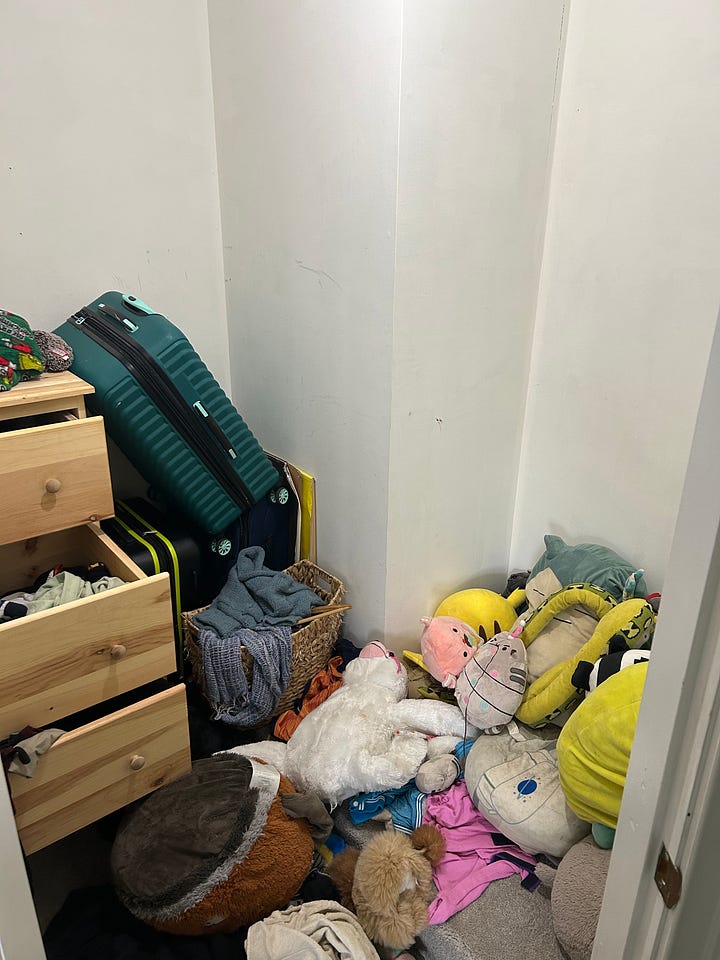
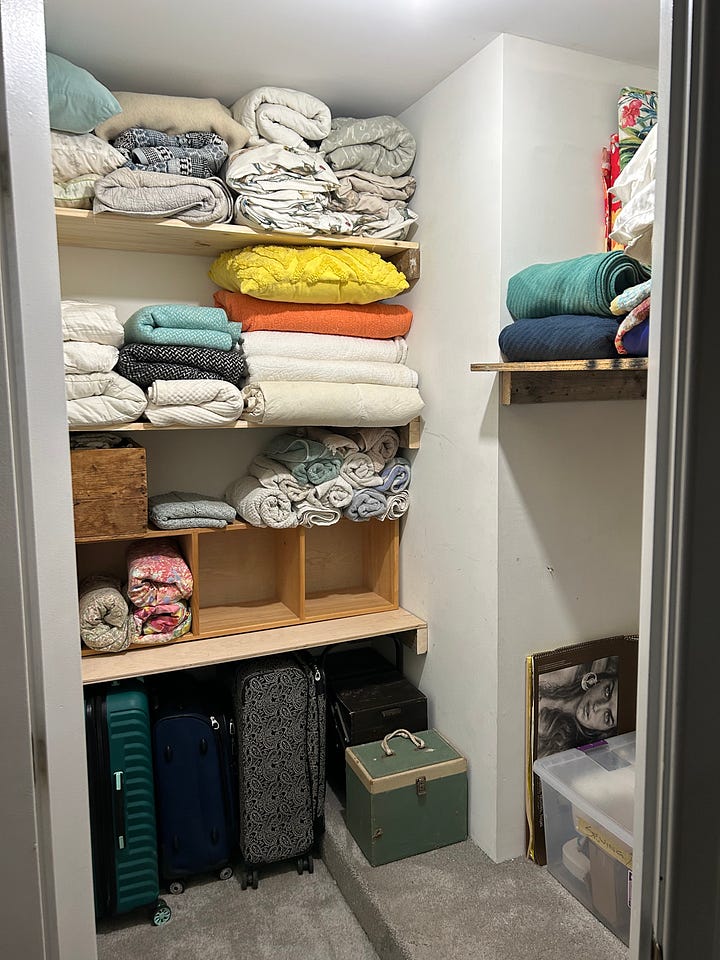
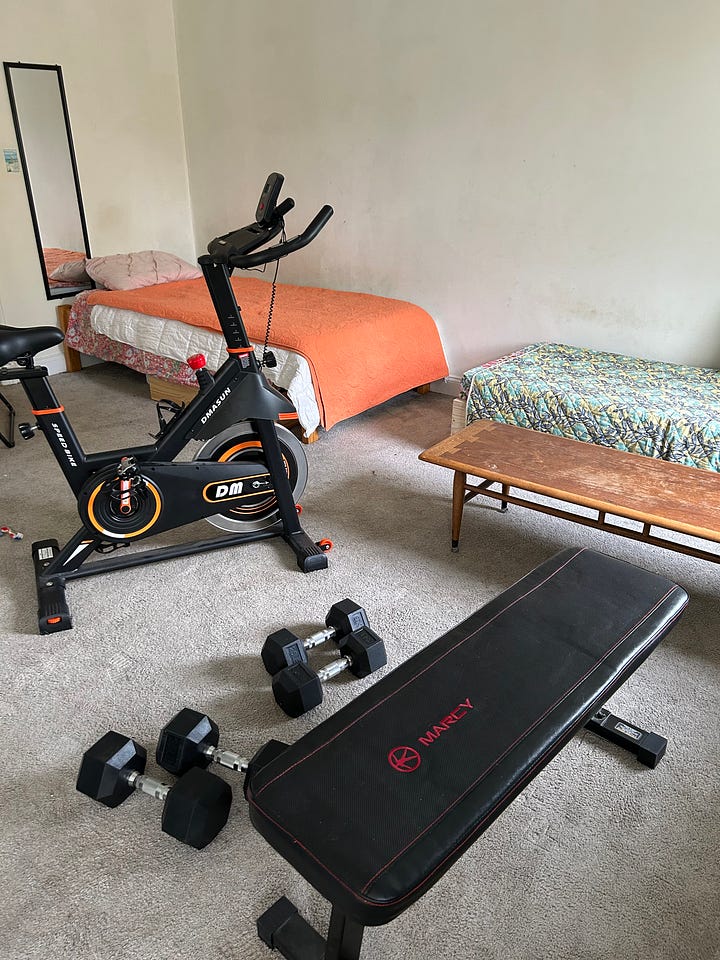
And the room, from this to this:
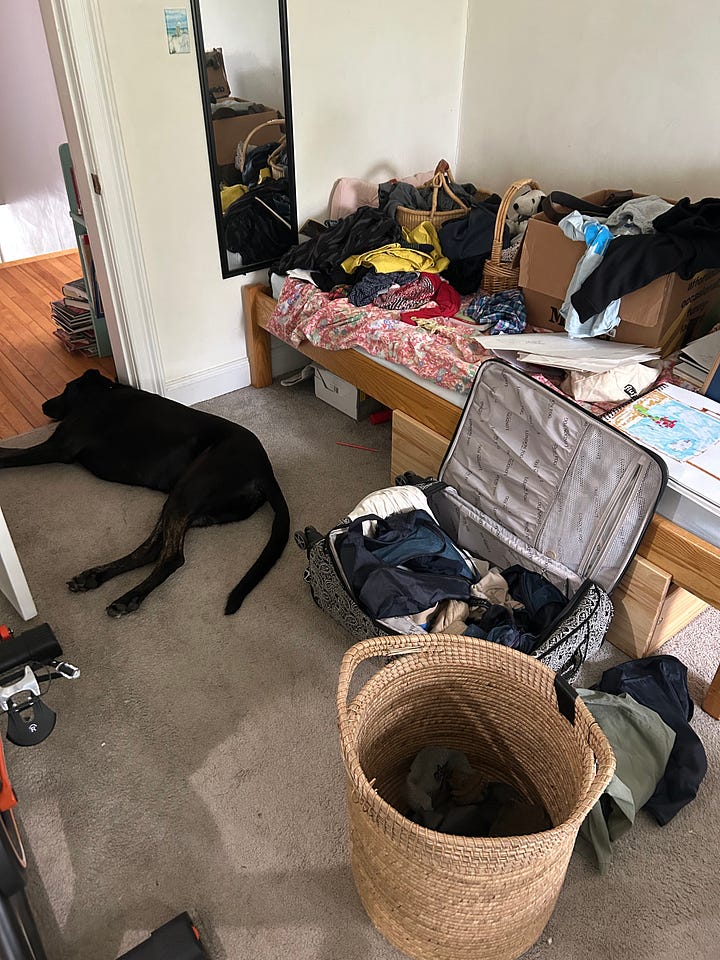
The closet isn’t either finished or fancy, but it is very functional. I consider that to be 90% of the way to just right, and it will do for the time being.


Now, Kate, you are in my sweet spot. So many closets have poorly used capacity. Closets thrive on the city planning method: you can’t go out so you go up and use it all until you hit the ceiling. Well done!
I love the skyscraper metaphor - good point!