An essential part of my approach to housekeeping is building custom storage areas to fit particular needs. This allows me to quickly make full use of limited space, and to not be limited by the pre-built offerings at home goods stores.
If you have the money and the time, and you need custom storage space, you can call an architect or interior designer to figure out a just-right solution for your needs. Then you can wait a moment or two for a carpenter to be available to build it. It will cost a lot of money and be beautiful.
Lacking time and/or money, you can design and build it yourself. It will look ok and provide an immediate solution to an immediate problem. And if you like the Shabby Chic or Rough Minimalist aesthetics, these types of builds might be a long-term solution.
Though, going the DIY route does not necessarily preclude calling in a professional. It is perfectly fine to treat your guerrilla carpentry as a rough sketch for an eventual finished piece - a placeholder. It will serve the immediate need, and help you figure out exactly what you want when you are ready to pay the big money. You can also do this with furniture: get the Goodwill or “curb alert” version of what you need for a particular space, then buy something nice when you can find and afford it.
In our home, our immediate need two weeks ago was to create “homes” for tools and homeschool resources, as well as creating more space for books (note to self: build the Little Free Library ASAP…)
I also wanted to figure out a plan for a lightweight, portable workshop. I don’t like relying on the 50 lb. miter saw whenever I need to make a cut. I have to either ask my husband to move it from the shed to wherever I am cutting, or I have to do it myself. Which, given that I need to take it down a wooden ramp and I am not exactly a bodybuilder, feels a little hazardous sometimes. Also, while I might like the concept of just setting up “wherever”, I have been feeling the need for a dedicated work surface, and I want that surface to be portable.
My brother said I needed a circular saw, which I scoffed at, since I’ve always considered the one in my husband’s toolkit unwieldy. And I don’t like the combination of unwieldy and a spinning saw blade.
Then, while doing research on other casual carpenters, I found out about mini circular saws. A circular saw - while a bit more challenging to master precise cuts - allows me the flexibility to cut both boards and sheet lumber. Previously I have relied on the workforce at Lowes to cut my sheet lumber - which is a problem if I later realize that I have to make size adjustments. Also, they tend to balk at doing more than a few cuts.
So I went to the local purveyor of hardware and tools (ie: big box store) and purchased:
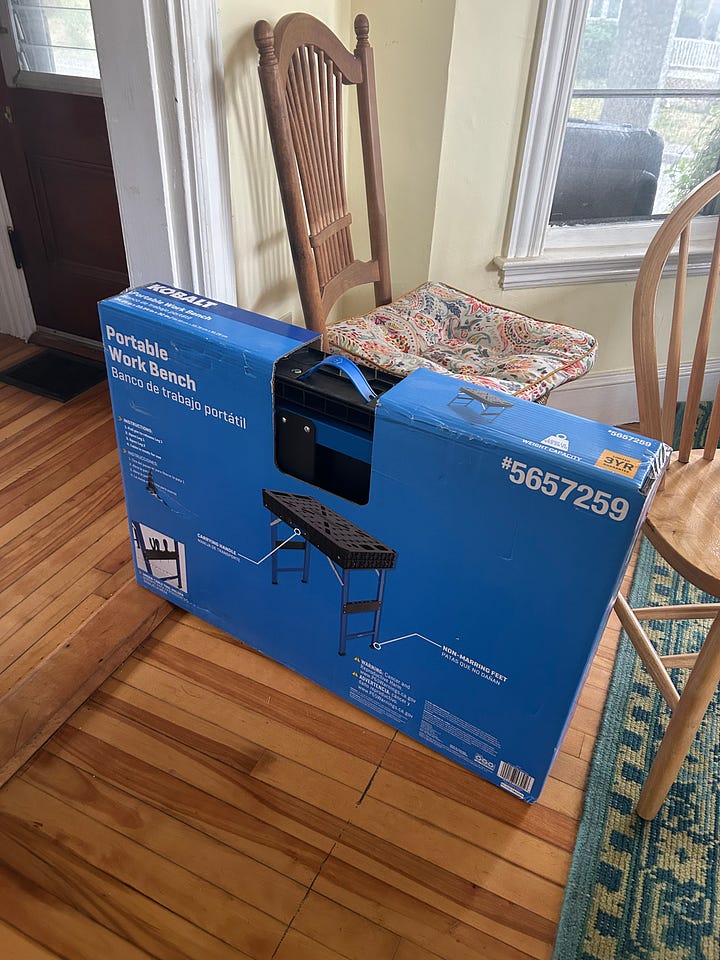
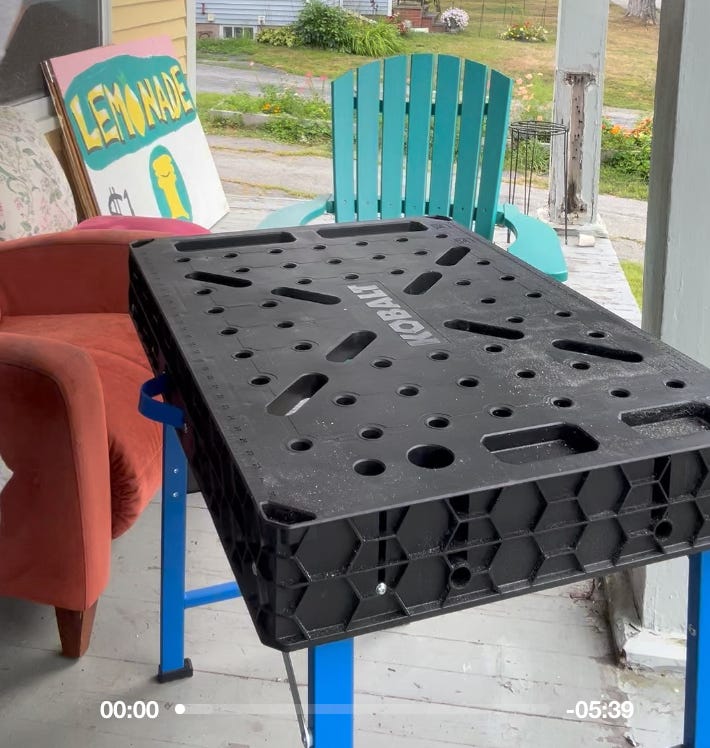
and:
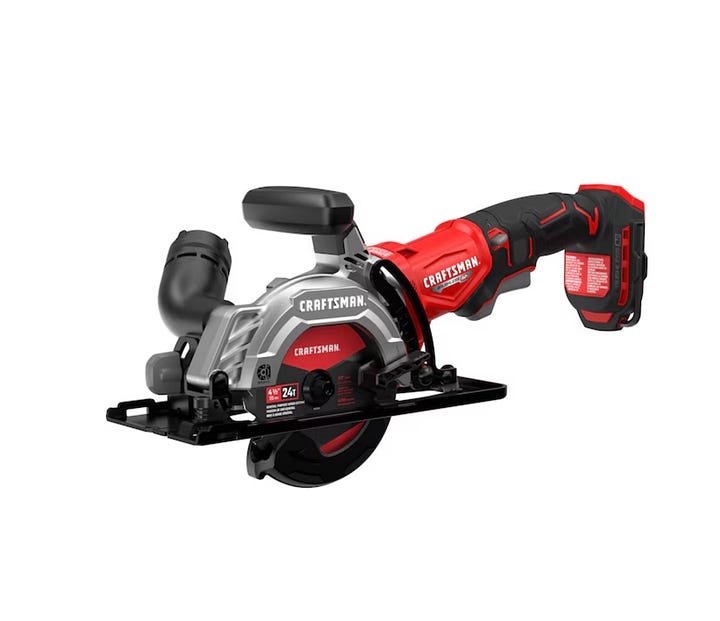
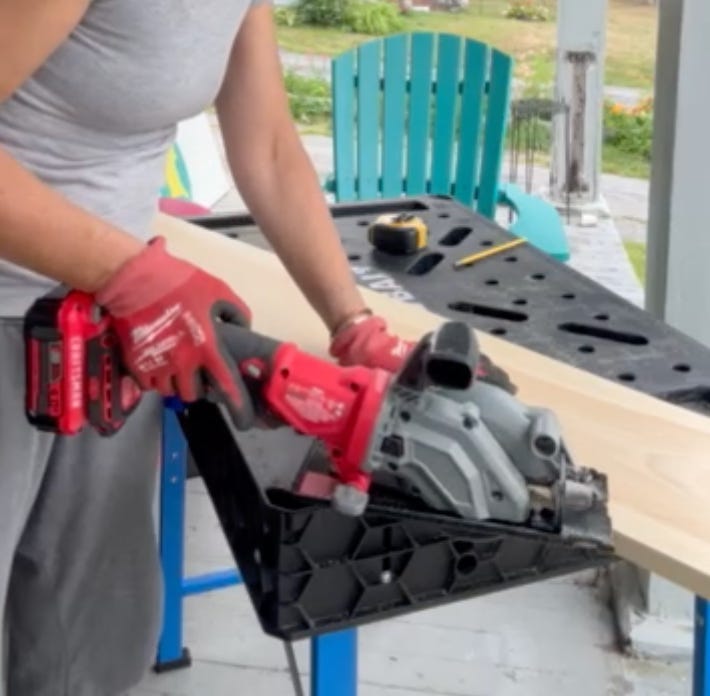
The Project:
create minimal portable workshop
build two set of shelves for tools and for homeschool items
Tools:
(new) portable work table
(new) mini cordless circular saw
cordless drill
stud finder
Materials:
1x10” wood boards
Hardware:
self-drilling exterior deck screws (all other screws are nonsense)
metal corner brackets (serving as shelf supports)
(note: I don’t give precise measurements for hardware and materials, because this is a custom-fit project, and the measurements apply only to this space and this project. Rather than a step-by-step DIY, it is intended to be used as a conceptual model for your own custom solution.)
Here are the homeschool shelves, step-by-step:
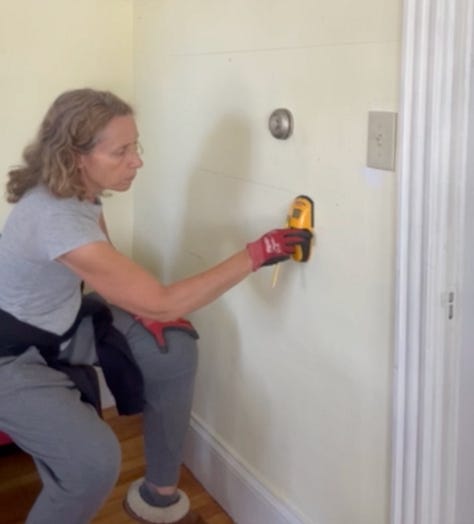
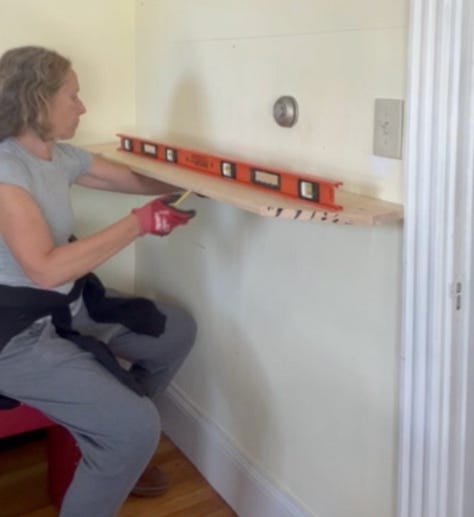
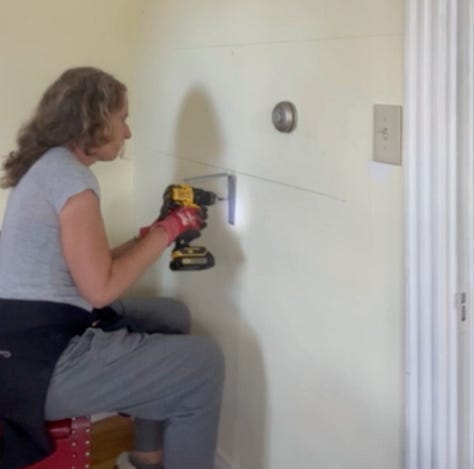
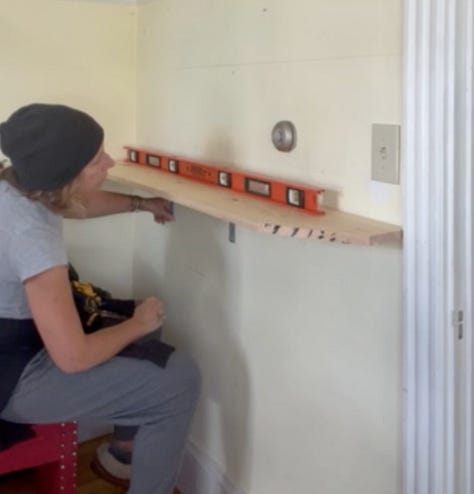
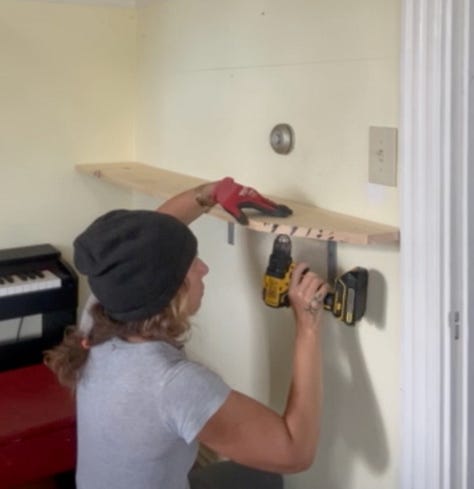
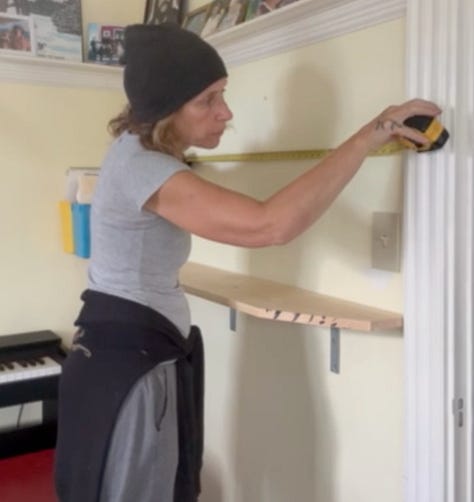
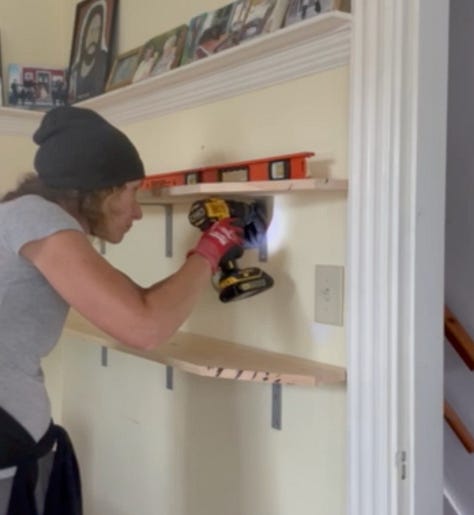
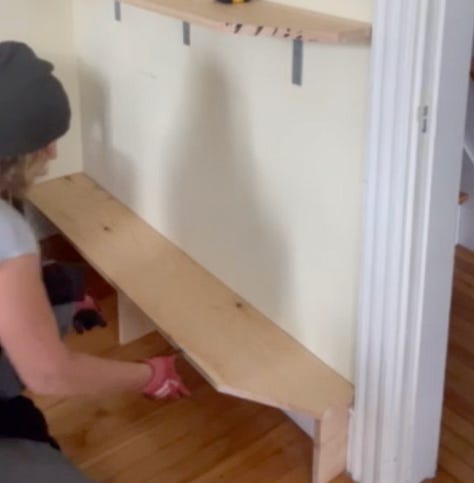
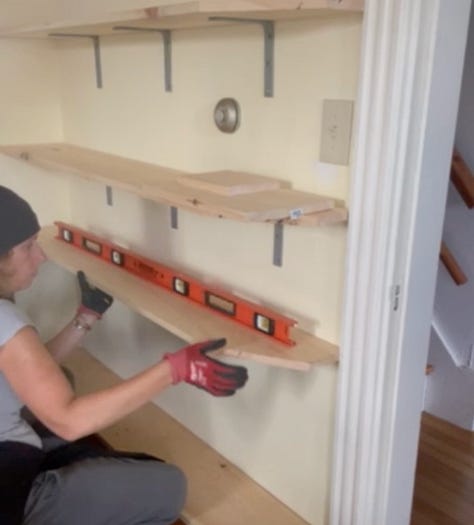
The second step in Row 1 was unnecessarily difficult - I realized once I worked on the tool shelves (in another room) that I can put the level directly on the wall to make the shelf line, rather than balancing the wooden shelf and level on my arm (DUH!) I had figured this out in an earlier project, and conveniently forgotten…
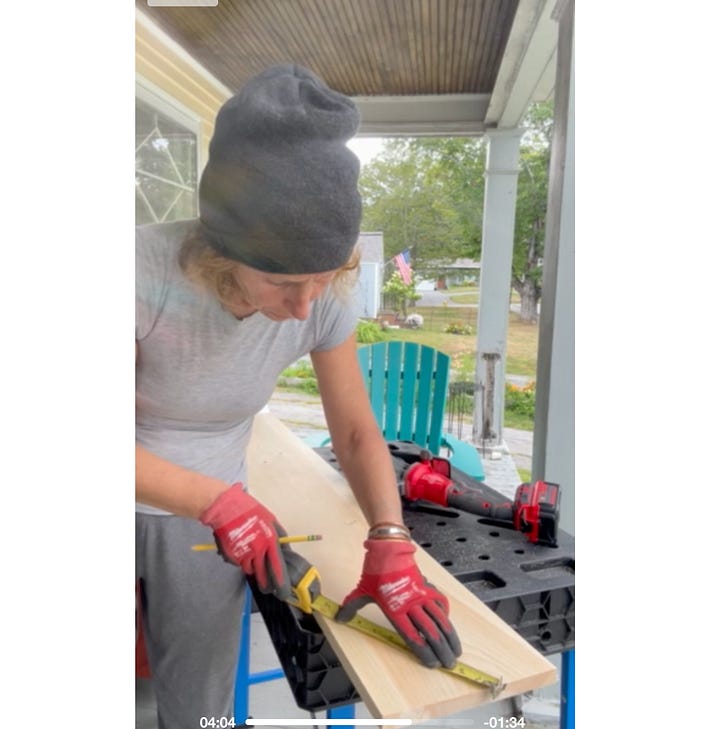
Here is the process for cutting each shelf:
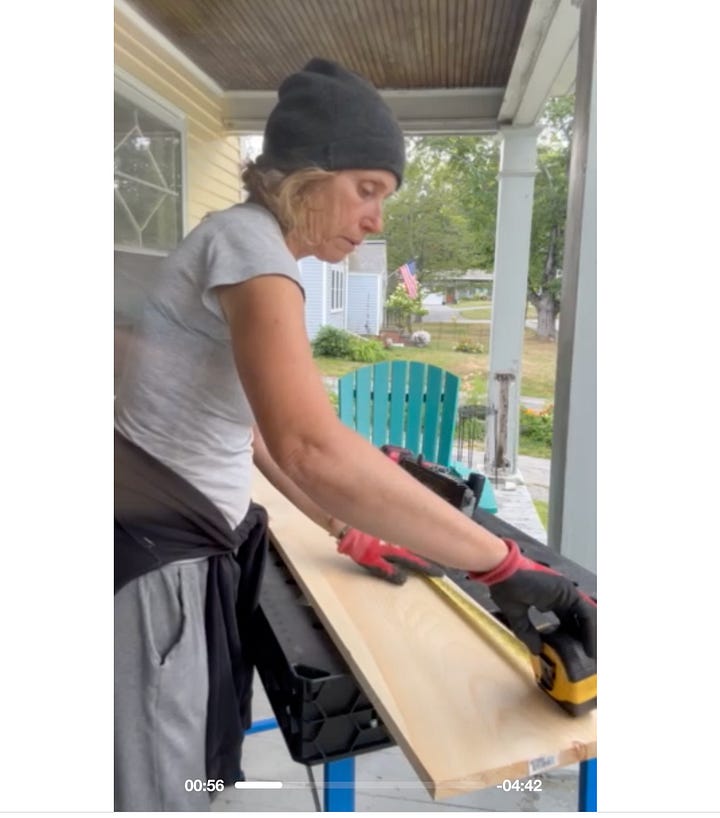
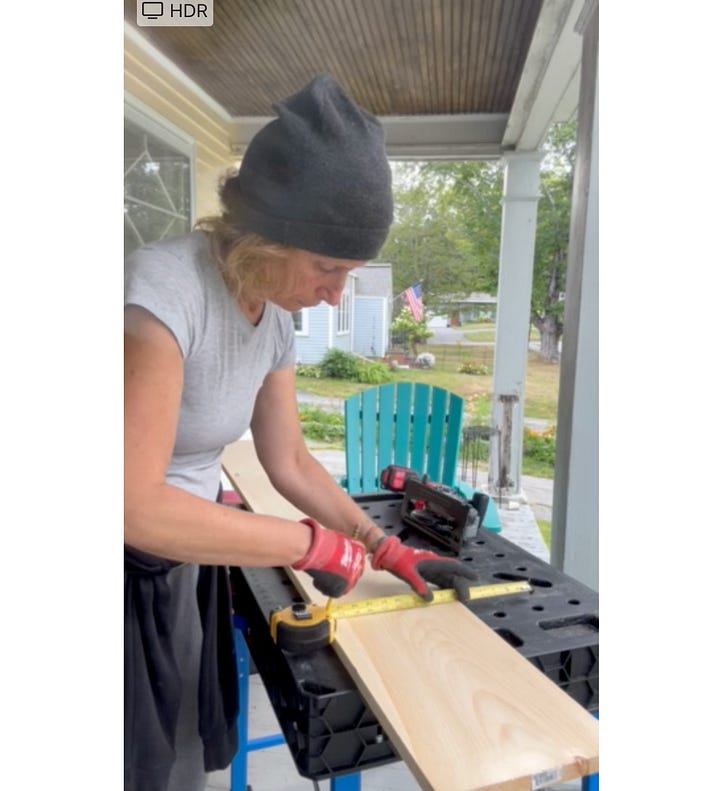
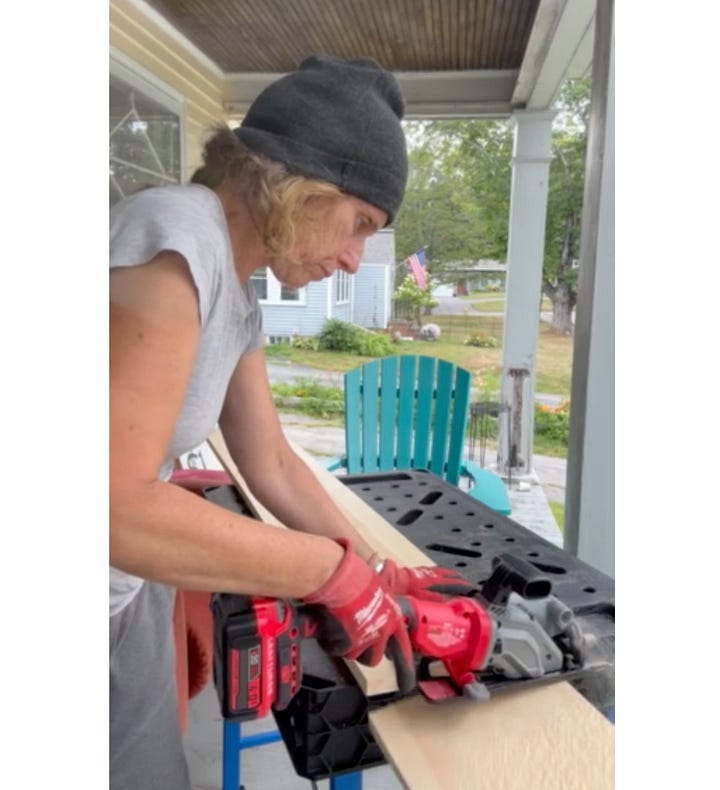
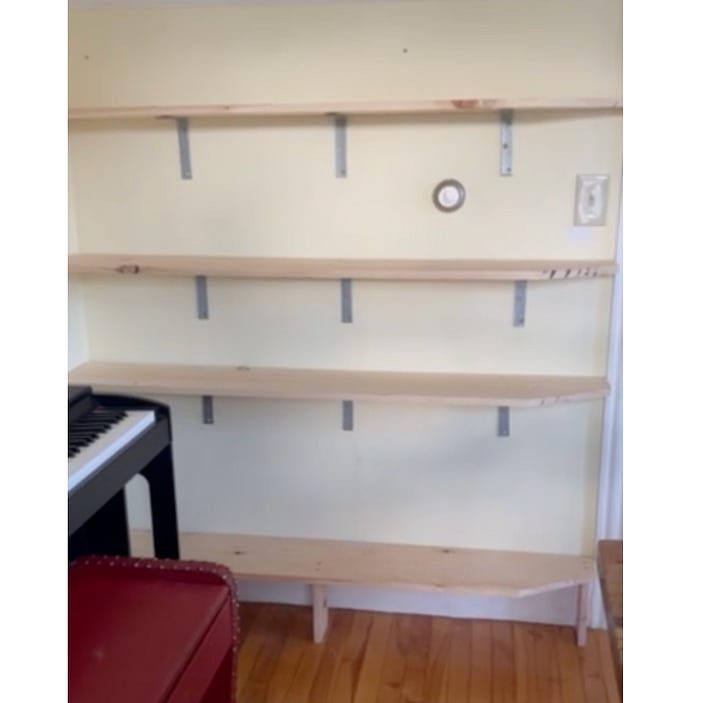
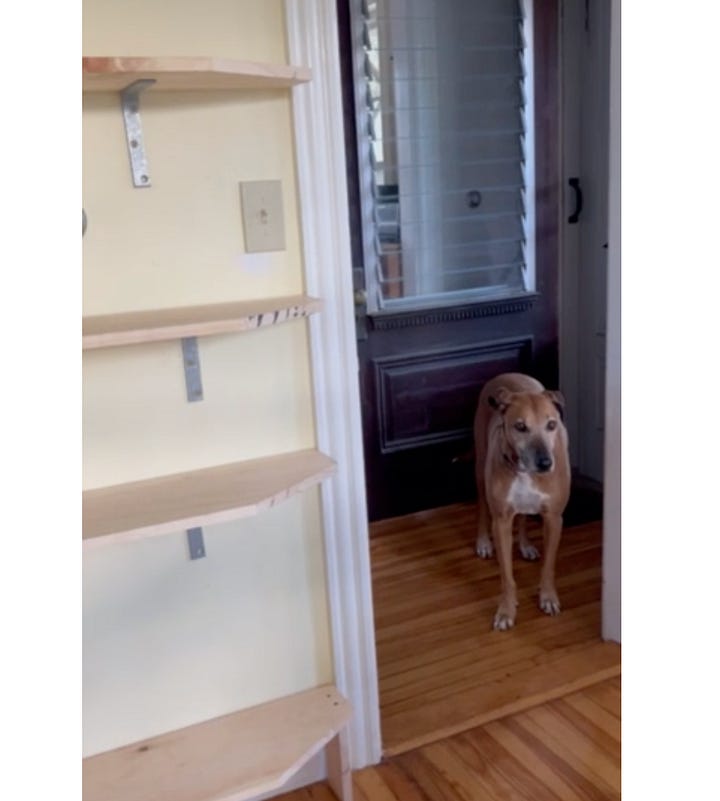
Finished product and building inspector:
Here is the “before”:
And the “after”:
Not the fanciest shelves on the block, but serve the need perfectly.
Here is the shelf I put up for the at-hand tool area (as opposed to the tool cavern, down in the basement):
The height is set to precisely fit the work table (I had to install it twice, as the first time I didn’t take this into account!)


